North America
How to configure ticket submission in Communication Client
Views
862 times
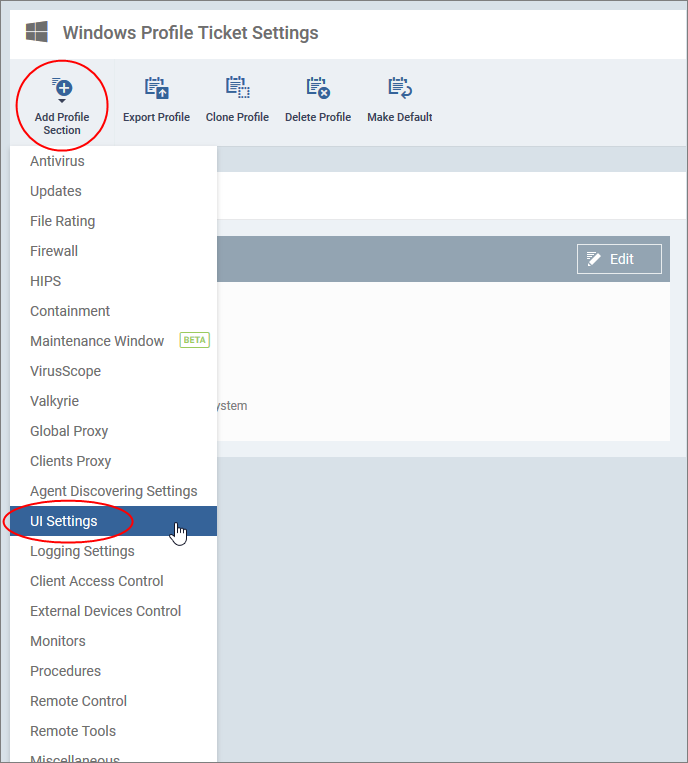
Click ‘Configuration Templates’ > ‘Profiles’ > open a Windows profile > Click ‘Add Profile Section’ > ‘UI Settings’
- You can submit your support requests as a ticket to your Service Desk, if you face any issues on your devices or in need of any assistance.
- You can configure a list of departments created on Service Desk ticketing system to be shown to the end-user for submitting a ticket on the Communication Client agent
- The communication client is an agent installed on your managed devices. It receives commands and tasks from Endpoint Manager and implements them on those devices. The client also informs Endpoint Manager of the endpoint's status.
- The UI Settings option of a Windows profile lets you manage the appearance of Communication Client (CC)
- Enable 'Show communication client tray icon' option in the 'UI Settings' to submit a ticket from the Communication client tray icon
- The 'Synchronize' option in EM lets you add departments available on SD. Disabling the 'Configure Departments for Ticket Submission' will show only public departments
- This article explains how to add 'UI Settings' section and configure departments for submission on Communication Client to a configuration profile applied on your managed Windows devices.
Use the following links to jump to the task you need help with:
- Add 'UI Settings' section to a profile
- Synchronize departments within Service Desk and Communication Client
- Enable departments available to a user
- Remove enabled department on CC from the endpoint manager
- Submit a ticket
- View submitted ticket on Service Desk
Add 'UI Settings' section to a profile
- Login to Xcitium
- Click 'Applications' > 'Endpoint Manager'
- Click 'Configuration Templates' > 'Profiles'
- Click the ‘Profiles’ tab
- Open the Windows profile applied to your target devices
- Open the 'UI Settings' tab
OR
- Click 'Add Profile Section' > 'UI Settings', if it hasn't yet been added.
- Open the 'UI Settings' tab
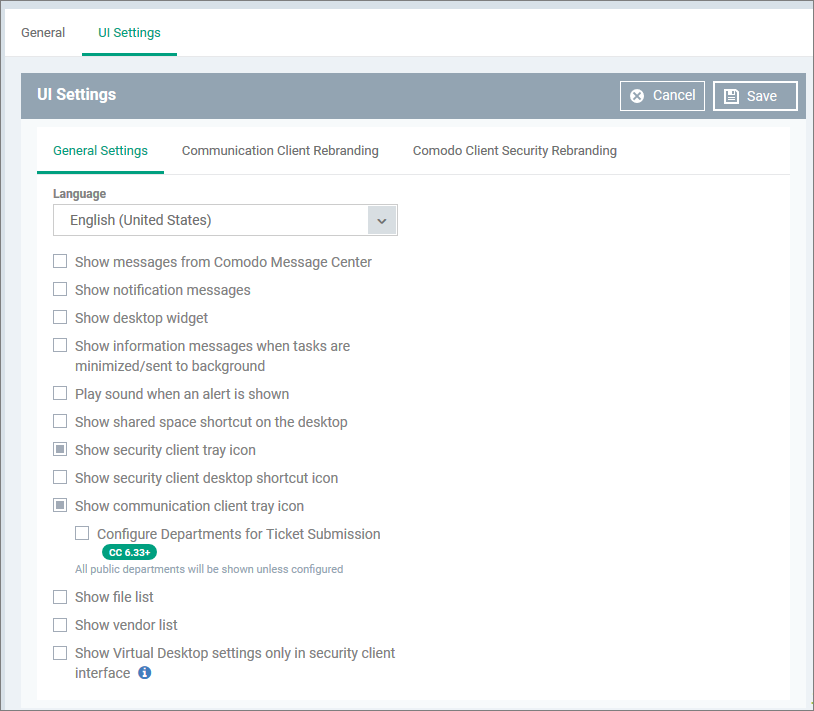
- Click the 'General' tab to set departments are shown in the interface to the end-user.

- Open the 'UI Settings' section of a profile
- Click the 'Communication Client' tab then 'Edit'
- Click the "Show communication client tray icon"
- Click the "Configure Departments for Ticket Submission" to configure departments
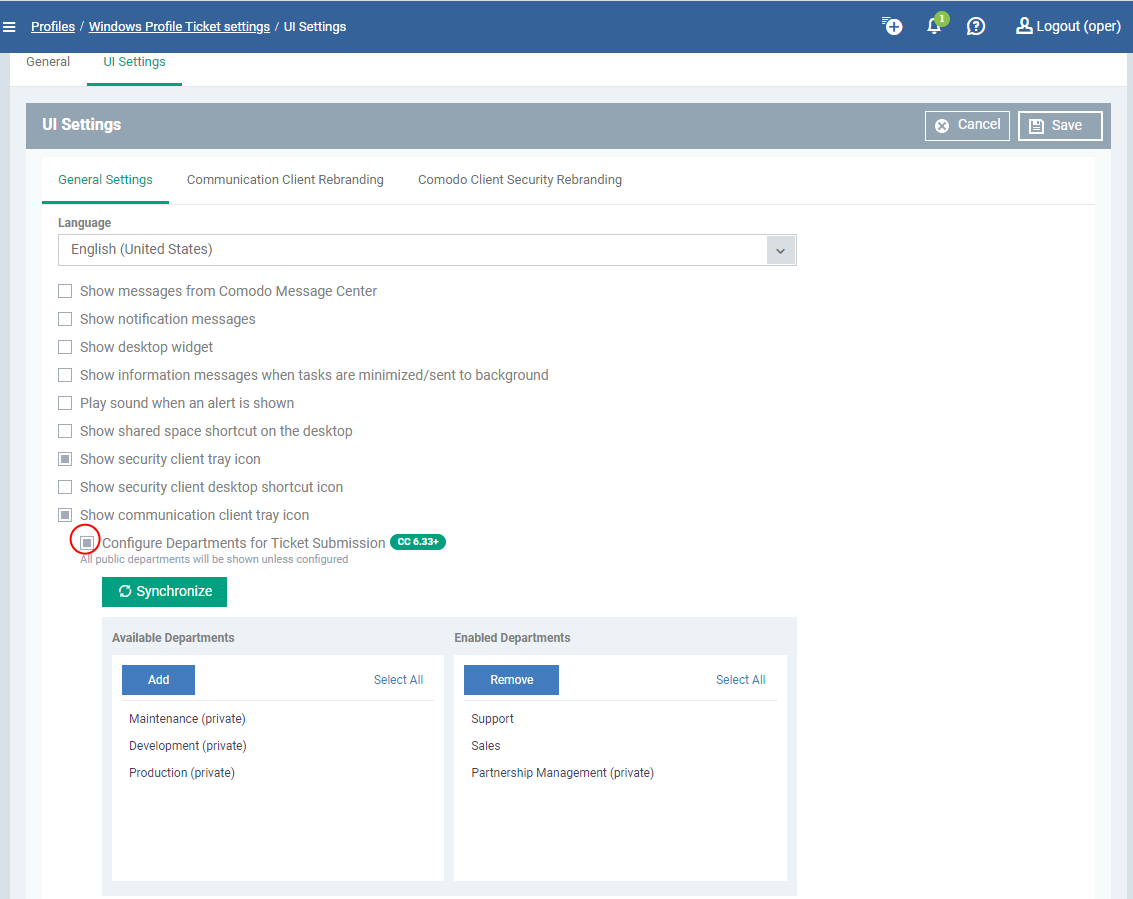
- The list of available departments on Service Desk and enabled departments on Communication Client agent is shown
- Click the "Configure Departments for Ticket Submission" to configure departments
- Click 'Synchronize' button to view available department on SD and enabled departments from on Communication Client to a user for submission.

Enable departments available to user
- Open the 'UI Settings' section of a profile
- Click the 'Communication Client' tab then 'Edit'
- Select the department available from the left pane to import it to right pane to show it enabled for selection by the end-user :
- Click 'Add' in the 'Available Departments' to enable particular department for the end user
- Click 'Select All' to enable all departments in the right list
- Click 'Add' in the 'Available Departments' to enable particular department for the end user
- Click 'Save' to apply your changes to the profile.
- Open the 'UI Settings' section of a profile
- Click the 'Communication Client' tab then 'Edit'
- Select the department in the 'Enabled Departments'
- Click 'Remove' in the in the 'Available Departments' to delete a particular department
- Click 'Select All' to delete all departments in the right list
- Click 'Save' to apply your changes to the profile.
Submit a ticket on Communication Client
- Right-click on the CC system tray icon on an endpoint
- Click 'Submit Ticket'
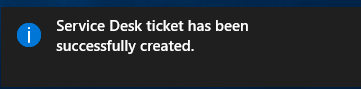
- The ticket is submitted to the Service Desk. A prompt appears at the endpoint for the successful creation of a ticket at the service desk:


View the submitted ticket on Service Desk
- Login to Xcitium
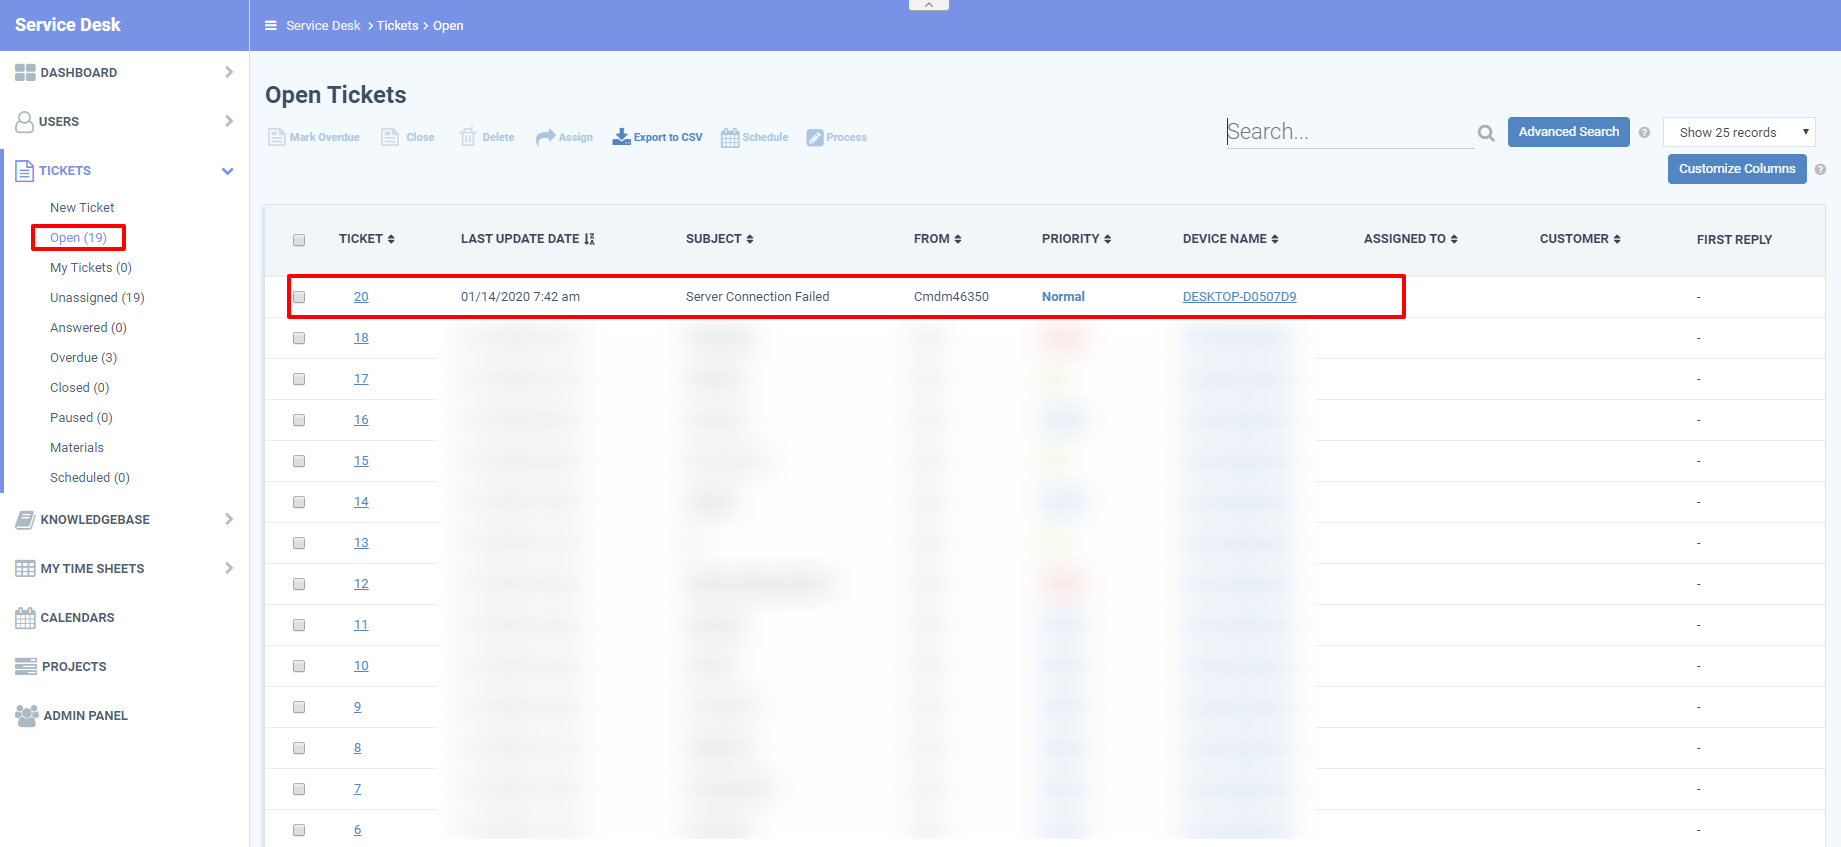
- Click 'Applications' > 'Service Desk' > 'Tickets' > 'Open'
- An example ticket is shown below:


CONTACT US
Call now!  (973) 859 4000 ext 3025
---