How to allow Citrix application in Comodo Firewall
Step[1]: Login into Endpoint Manager.
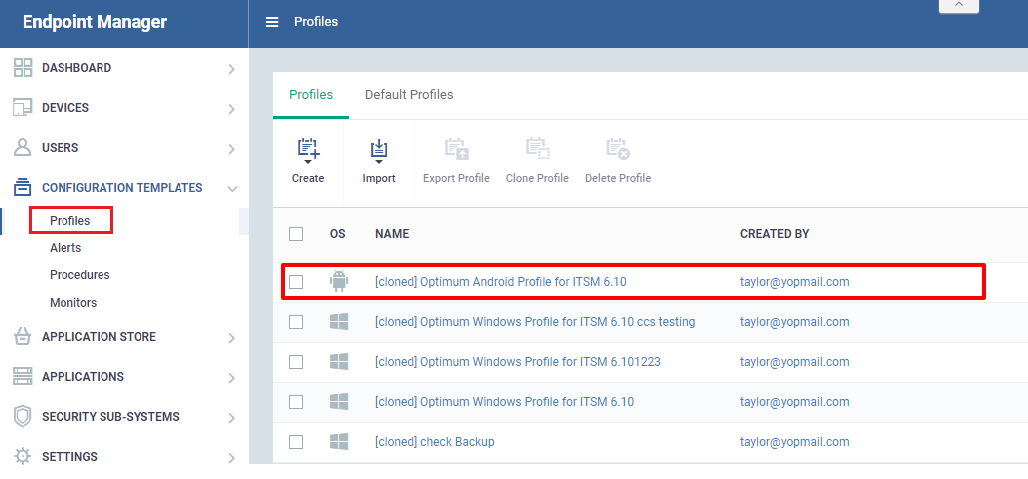
Goto CONFIGURATION TEMPLATES → Profiles , and select the profile you want to configure.
Step[2]: Please select profile associated with device or group which requires Firewall Configuration
For Example:Optimum Windows Profile for 6.10 is asoociated with device DESKTOP-J45HD05
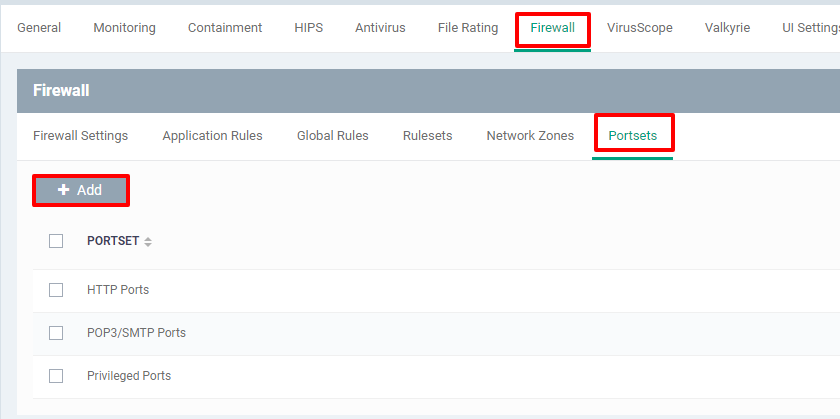
Step[3]:Add Firewall port sets for Citrix
In Firewall, Add the Port numbers in Portsets. So that we can use it to allow Citrix application in through Firewall global rules.
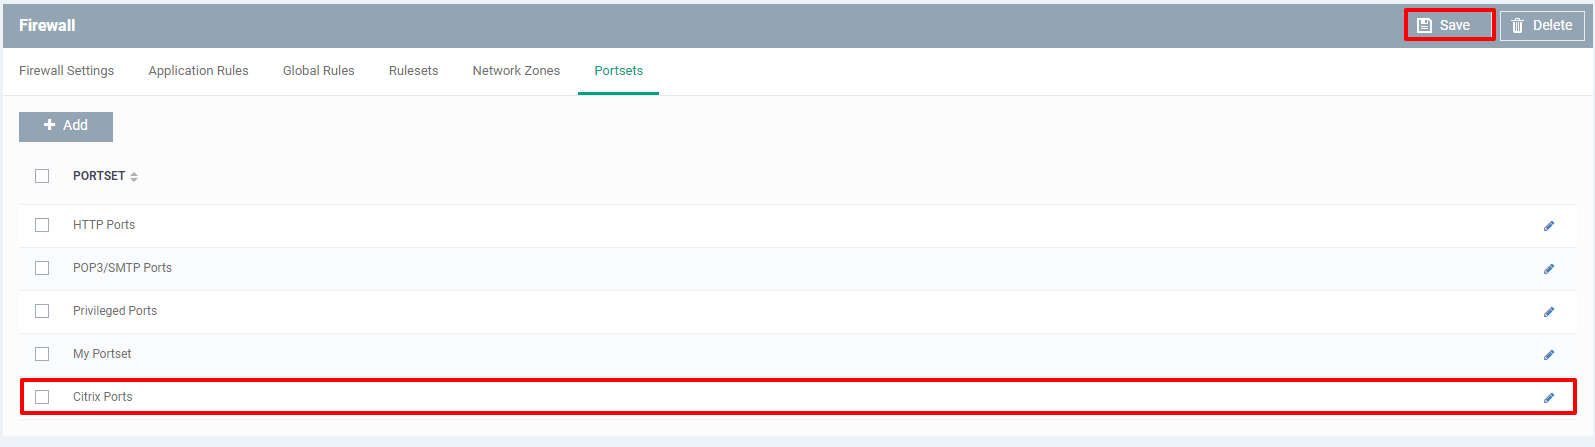
I) Goto Firewall → Portsets → Add, It directs you to Portset dialog box.
II) Name the Portset as required
For Example: "Citrix Ports" and click "Add"
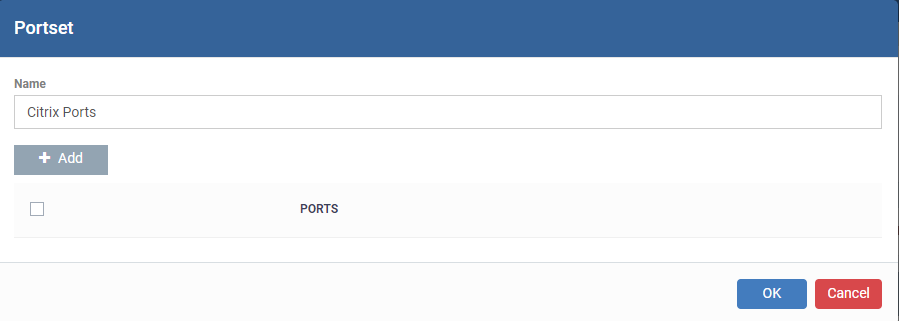
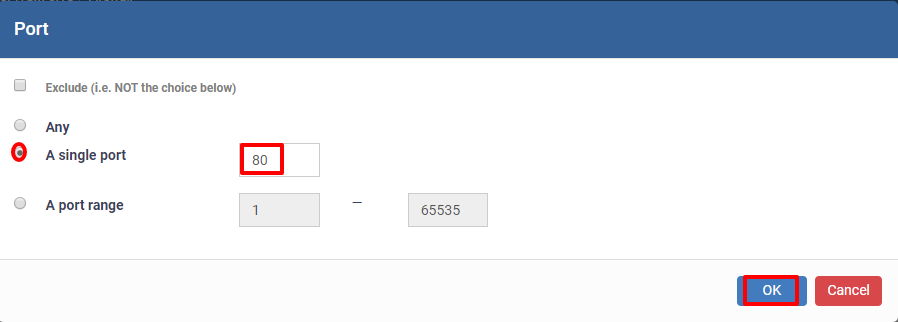
III) Add the port numbers for Citrix one by one
For Example- Port Number for Citrix are 80, 443 , 1494 , 2598 , 2512 , 2513 and then click" OK"


For Example: Citrix Ports is available
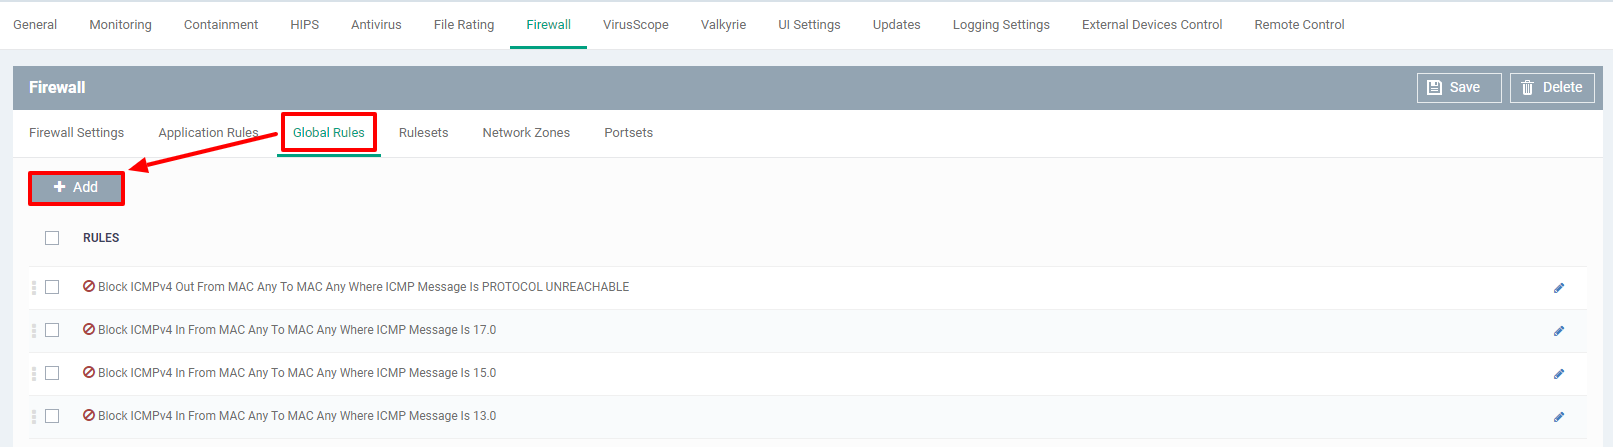
Step[4]: Add Global rules to allow Citrix ports
In Firewall, Add the Global Rules .So that we can use it to allow Citrix application in through Firewall global rules.
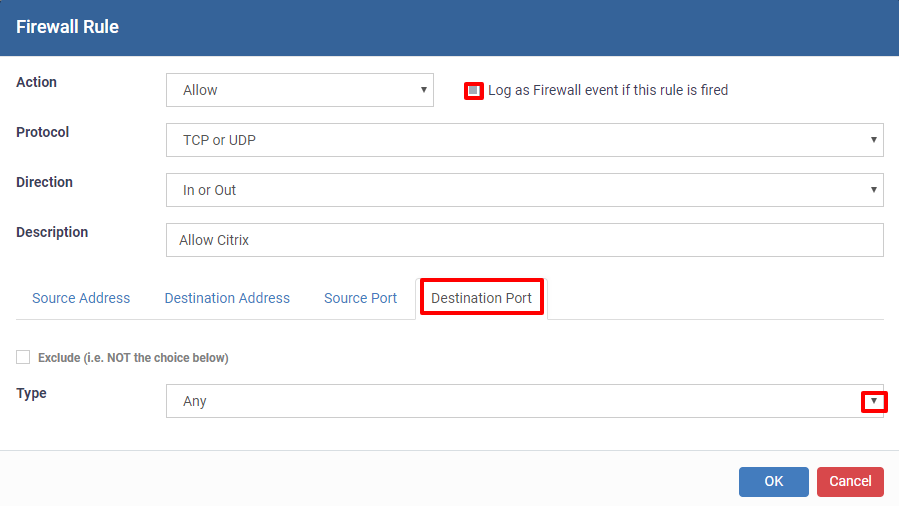
By selecting Destination Port, Citrix Application will be allowed by Firewall only by those Port numbers added.
I)Goto "Global Rules" and click "Add" , it will direct to a Firewall rule dialog box
II) In Firewall Rule,
Enable the Check box "Log as Firewall event if this rule is fired".
Action:This is to allow or block the application action.
By default, the Action willbe "Allow"
Protocol: There are some protocols which need to be selected based on the application.
By default: It will be "TCP or UDP"
Direction: It tells about the direction In,Out or Both
By default: It will be "In or Out"
Description: Add any description.
For Example: Description is "Allow Citrix".
Then Click " Destination Port".
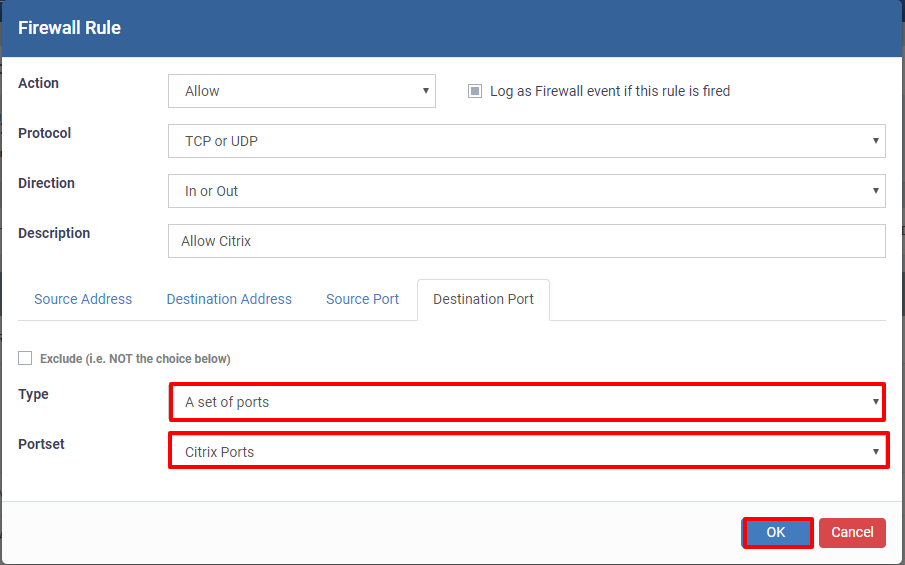
III) In destination port, select desired Type and add the Portset you created and click "OK"
For Example: Select Type as "A set of ports" and Portset as "Citrix ports" which is created and click OK.


---