How to configure COM protection in HIPS
Introduction
-
The ‘COM Variables’ tab in ‘System Templates’ lets you view, manage and create COM groups
-
A COM group is a collection of interfaces which you can choose to protect in Endpoint Manager
-
COM groups, including any you create, can be chosen as targets for protection when creating a profile
-
For example, you can choose a COM group for protection when configuring HIPS in a profile
-
The page explains how you can view existing COM groups, create new groups, and bring COM groups under HIPS protection
Step 1: View and Manage COM groups
-
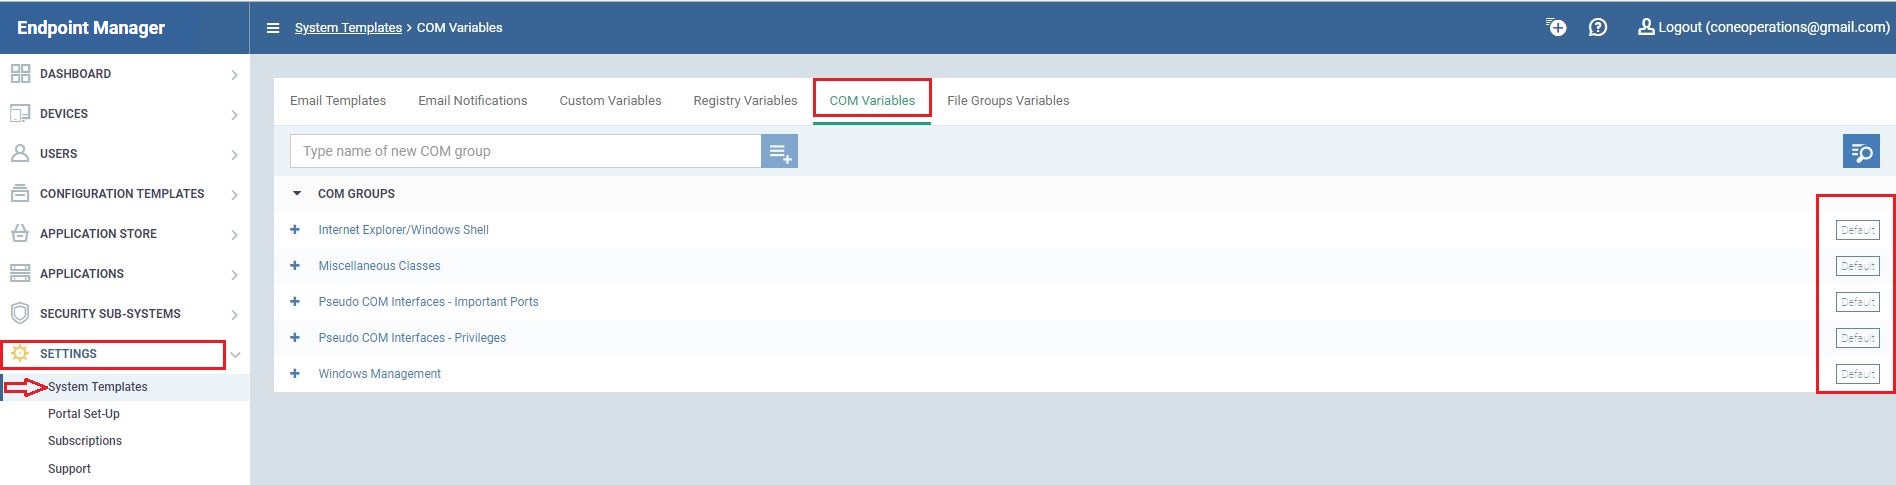
In C1, click ‘Applications’ > ‘Endpoint manager’
-
Click ‘Settings’ > ‘System Templates’ > ‘COM Variables’
-
The variables screen lists all existing COM groups:
-
Predefined groups are marked ‘Default’ and cannot be edited
-
You can, however, create custom groups which consists of interfaces you choose. See next step.
Step 2: Create a custom COM group
-
Open the COM group screen as described in step 1
-
Type a name for your new group in the field provided then click the ‘+’ button
-
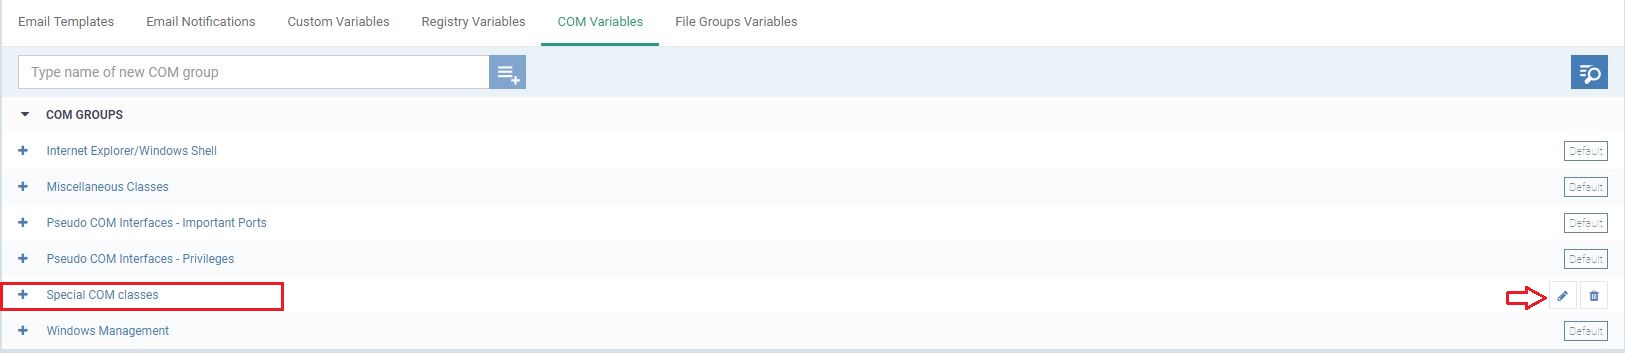
The new group will be listed under ‘COM Groups’

Step 3: Add COM interfaces to your new group
-
Open the COM Variables interface (step 1) then create a new custom group (step 2)
-
Expand the group to which you want to add interfaces (click the ‘+’ icon on the left)
-
Define a name for the interface. The example below shows ’\ RPC Control’, which will capture all components that make remote procedure calls
-
Click ‘Add’. The new interface will be listed as a class in your group
-
The controls at the end of the row let you edit or delete the group


Step 4: Protect your new COM group with HIPS
-
In C1, click ‘Applications’ > ‘Endpoint manager’
-
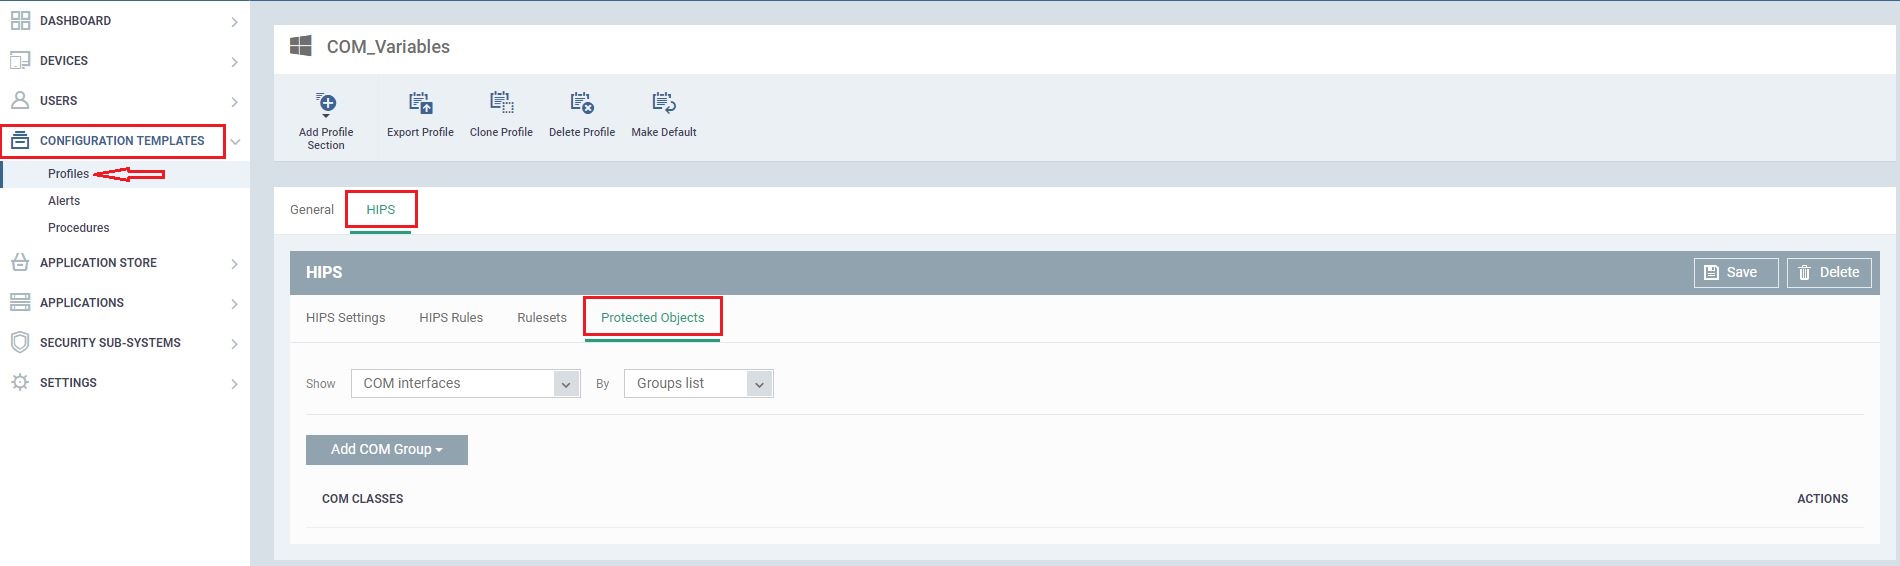
Click ‘Configuration Templates’ > ‘Profiles’
-
Open a profile which already has the ‘HIPS’ section
-
… OR click the ‘Add Section’ button to add ‘HIPS’ to a profile
-
-
Click ‘HIPS’ > ‘Protected Objects’
-
Modify the drop-down menus as follows:
-
Show: COM Interfaces
-
By: Groups list
-
-
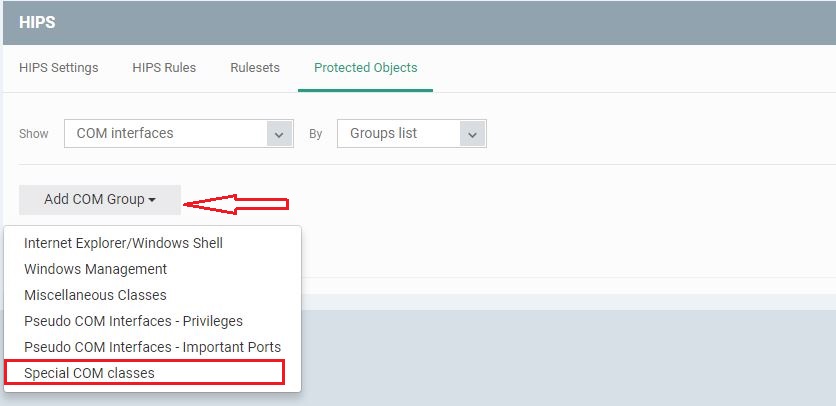
Click the ‘Add COM Group’ button, and select your new group from the list

-
Your group will be added to the list of items protected by HIPS
-
Click ‘Save’ to apply your new settings


---