North America
How to connect different devices at the same time using Remote Control with RDS Server
Views
7750 times
Category
Remote Control
Tags
- ITarian Remote Access is a peer-to-peer communication tool that uses the secure RTP protocol to remotely connect to managed endpoints.
- ITarian Remote Control lets you take over Windows and Mac OS devices to solve issues, install third-party software and run system maintenance.
- You can transfer files and folders between your computer and the remote computer (Windows devices only).
- Remote Control now supports multiple users who are connected to the RDS server to connect to different endpoints at the same time using Remote Control
Perquisites
- Windows Server 2008 R2 Enterprise x64 - 8GB RAM
- Install Remote Desktop Service Role.
- Create several users on Server.
- Install Remote Control under local admin.
- Connect to the server via RDP under several users.
- Log in to Remote Control under different users simultaneously.
- Connect via RC to different devices under different users.
Process in detail
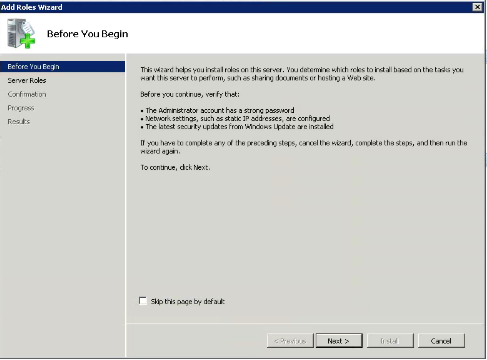
- On the Windows Server 2008 R2 computer, click Start > Administrative Tools > Server Manager.
The Server Manager dialogue box appears
- Click Roles, and then click Add Roles.
- Then select Server Roles of the Add Roles Wizard appears.
- Select Remote Desktop Services, and then click Next.
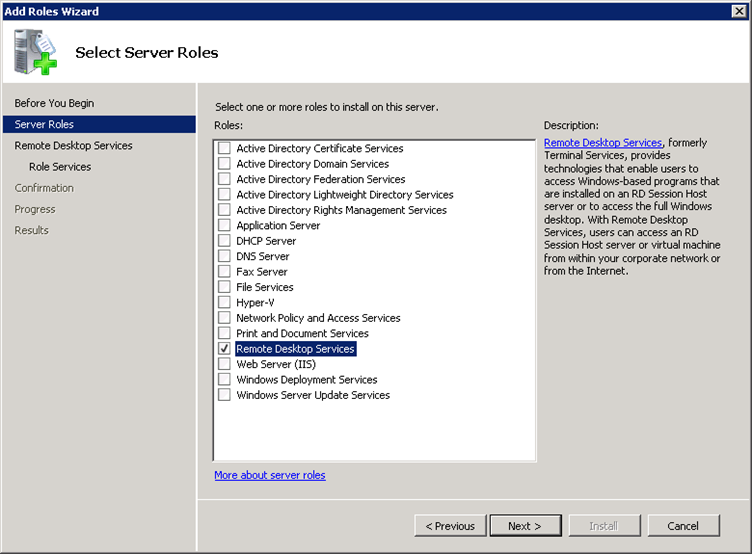
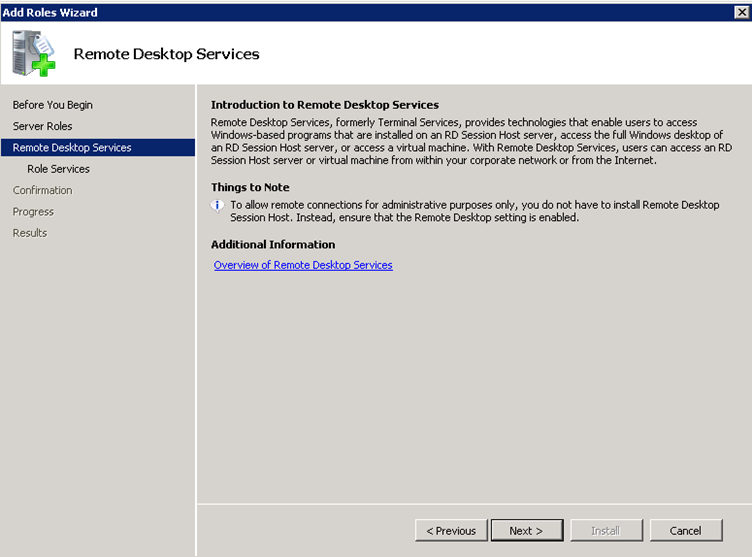
- The Select Role Services page appears
- Click Next
- Select the Remote Desktop Licensing checkboxes.
- You can select additional role services, but no other services are required
- You can select additional role services, but no other services are required
- Click Next

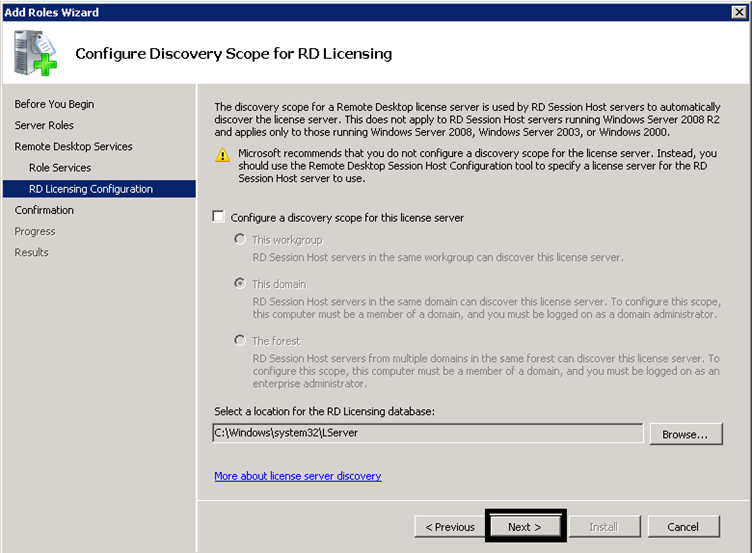
- Select Configure a discovery scope for this license server check box, and then configure it as follows:
- Select the appropriate option for the discovery scope.
- Click Browse to select the location for the RD Licensing database.
- Select the appropriate option for the discovery scope.
- Click Next

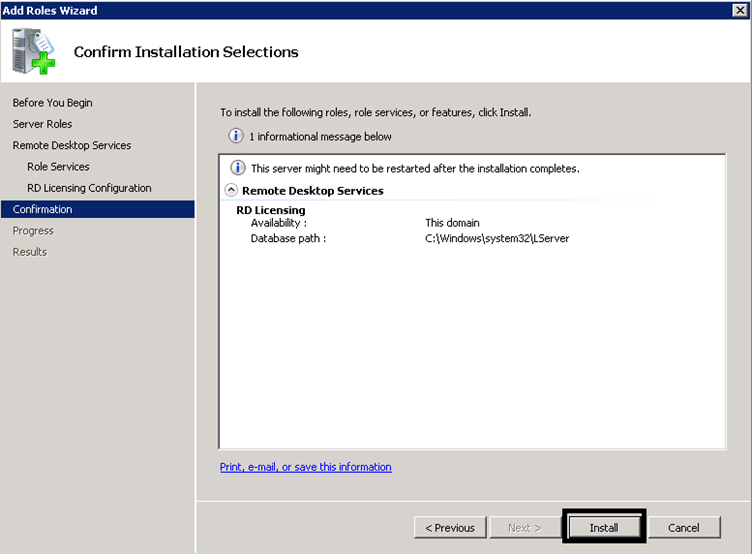
- The Confirm Installation Selections page appears. Check the added details
- Click Install

- Installation is in progress
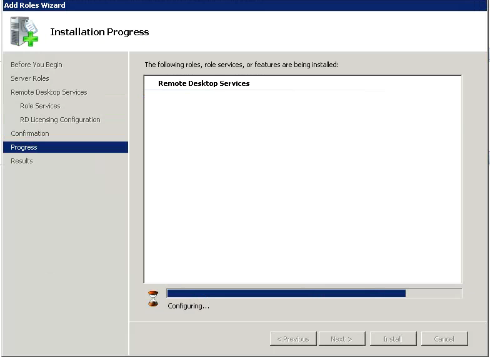
- Restart the computer after completing the installation for the changes to take effect.
To Activate the Remote Desktop license server
- Go to Remote Desktop Services > Click enable the added role.
Create several users on Server
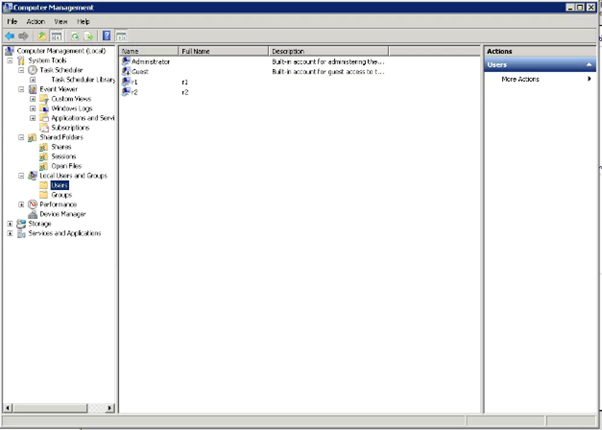
- Click Server Manager > Configuration > Local Users and groups
- Select Users from the right-side column > Click More Actions > Click New user

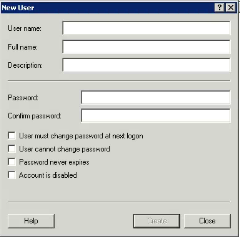
- Enter username and password for the user. You can choose various options as shown above. Once you are done, click Next.
- You can view the details of the user. Click Finish to create a new user account.


- Use the right-click to edit the user details or enable, disabling the function.

After adding a user. Install the Remote Control by ITarian on your device.
- Log in with the username and password of your ITarian portal

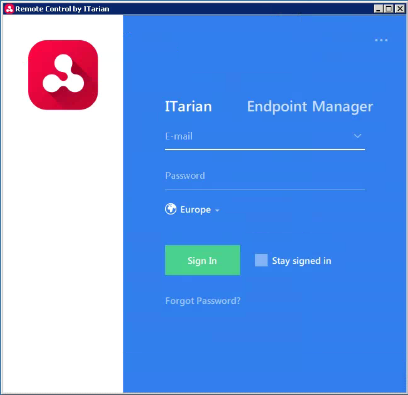
- After login, you can view the applied device to your remote environment
- You can view the enrolled devices here

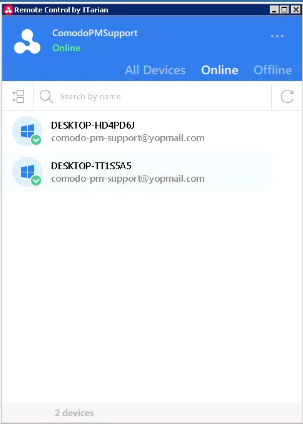
- Select the devices to start the remote control
To connect to the server via RDP under several users.
- Go to Remote Desktop Connection > RDC window, type the name IP Address of the remote PC
- Enter the username and passwords that you have created for the user

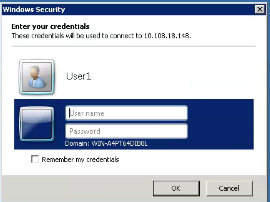
- If you wish to save your credentials so you don’t need to enter them each time, check the box next to ‘Remember my credentials.
- Click Okay.

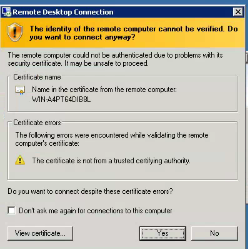
- You may receive a message saying that the identity of the remote computer cannot be verified. Check the box for "Don't ask me again for connections to this computer" and click Yes.
- You should now connect to the remote computer
- Log in to the Remote Control By ITarian using your credentials.
- You can view the enrolled devices here
- Select the devices to start the remote control

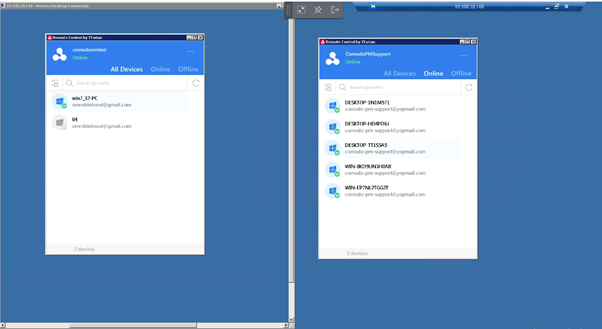
After that, the window will open like this.


You can now connect to different devices via RC for users connected to the RDS server who use the same IP address for Remote Control at the same time


CONTACT US
Call now!  (973) 859 4000 ext 3025
---