Endpoint Manager Client Communication (EMCC) installation under Windows Standard Account
This article will describe how to Install Endpoint Manager Communication Client on a Windows system using a user account with windows standard(limited) privileges.
An application can be installed under a windows standard user if the administrative privileges are provided.
Considering this ability, the process can be automated using a script and the command RUNAS:
The inconvenience with this solution is that if we use this command in a script, we will have to provide the administrative password in clear text. A solution to overcome this trouble is to encrypt the password, meaning we can use PowerShell Get-Credential cmdlet, create an AES encryption key and encrypt the password with this key. Therefore when all this is integrated into a script the administrative password is no longer in used in plain text.
To make the solution even easier to use we can go one step further and use iexpress or winrar or any other application to create from all files an .exe file and uploaded to a cloud location like google drive.
The user can receive an email with the google drive link download the .exe file and install the Endpoint Manager Communication Client on his endpoint under his standard user account.
Requirements:
- A windows 10 lab machine
- A window administrative account and password with administrative privileges (local or domain)
- A standard user account (limited privileges, no install privileges)
- iexpress or winrar
Recommendations:
At the end of the deployment change the password for the used user account with administrative privileges (local or domain).
Remove the install package from the public link.
Summary of the steps to generate the .exe install package:
Step 1: Create a device group in EM for the deployment
Step 4: Update and test the VBS script
Step 5: Concatenate all the files and generate an .exe file – our example using iexpress
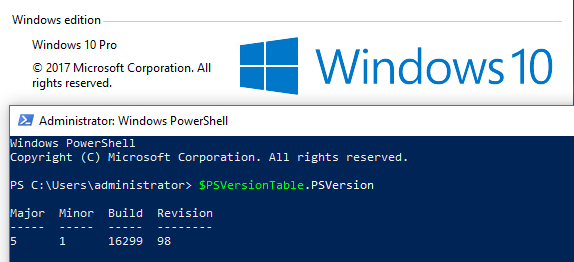
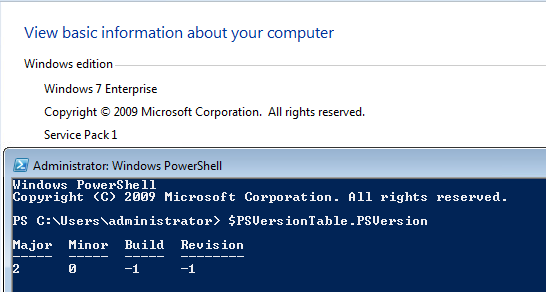
To create this article all the tests were done on Windows 10 and Windows 7.

Step 1: Create a device group in EM portal for the deployment
Open Endpoint Manager > Create a device group for the clone machines > Associate a profile with the device group:
- Open Endpoint Manager
- Click ‘Applications’ > ‘Devices’ > ‘Device List’
- Choose a target company if you are using the MSP version
- Choose a target company if you are using the MSP version
- Click the ‘Group Management’ tab
- Click the ‘Create Group’ button:

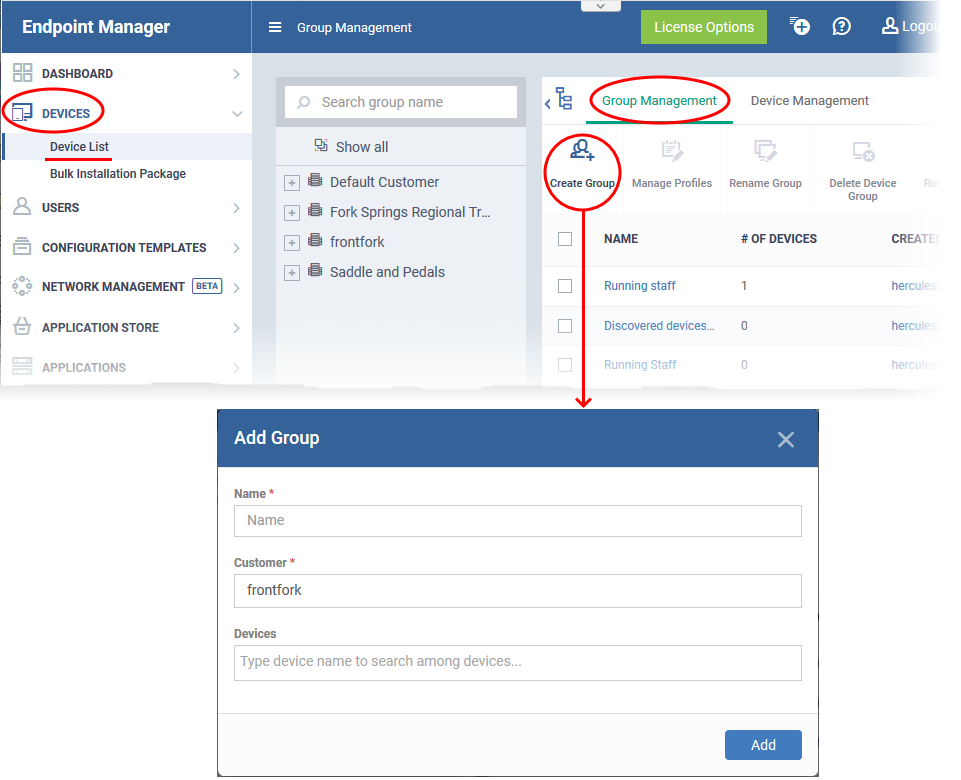
- Enter a label for the new group
- Click 'Add'. The new group is created.
Next, associate the profile you want to use on the clones with your new group:
- Click ‘Devices’ > ‘Device List’
- Click the ‘Group Management’ tab
- Click on the name of the group you just created. In our example, ‘TestUserInstall’
- Click the ‘Manage Profiles’ button then ‘Add Profiles’

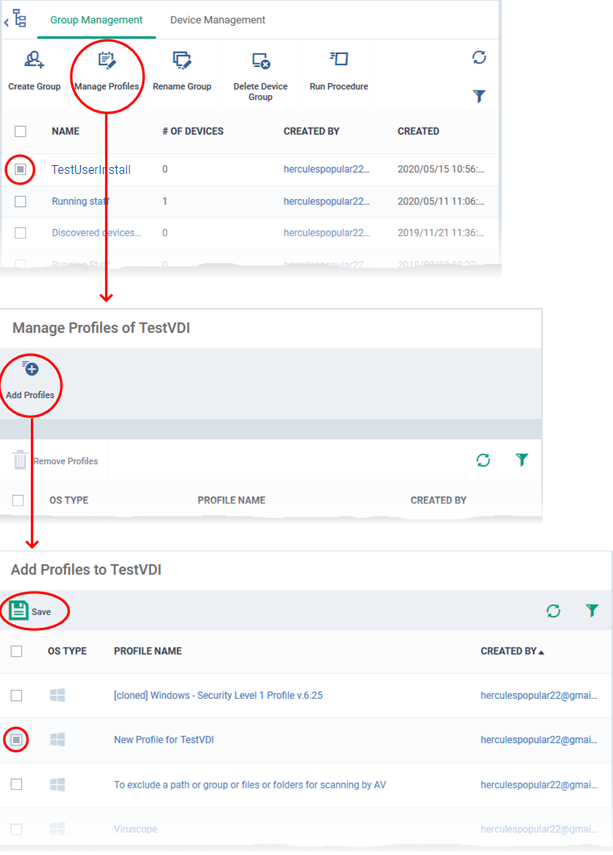
- Select the security profile that you want to use on the endpoints that will be part of this device group
- Need to learn more about profiles? See How to clone and customize a profile then apply it to devices.
- Need to learn more about profiles? See How to clone and customize a profile then apply it to devices.
- Click ‘Save’ to apply the security profile to the group.
Step 2: Create an Endpoint Manager Communication Client install msi file that will be used for this project
- The Endpoint Manager Communication Client auto-enrols the endpoint to your new device group.
- This means the enrolled endpoints will receive the configuration profile you associated with the group in Step 1.
- Each installer package is uniquely generated for your environment. Do not change the filename of the package as it is vital for enrolling the endpoints to the correct device group.
Create a CC installation package:
- Click ‘Devices’ > ‘Device List’ > ‘Bulk Installation Package’
- This opens the installer config Screen:

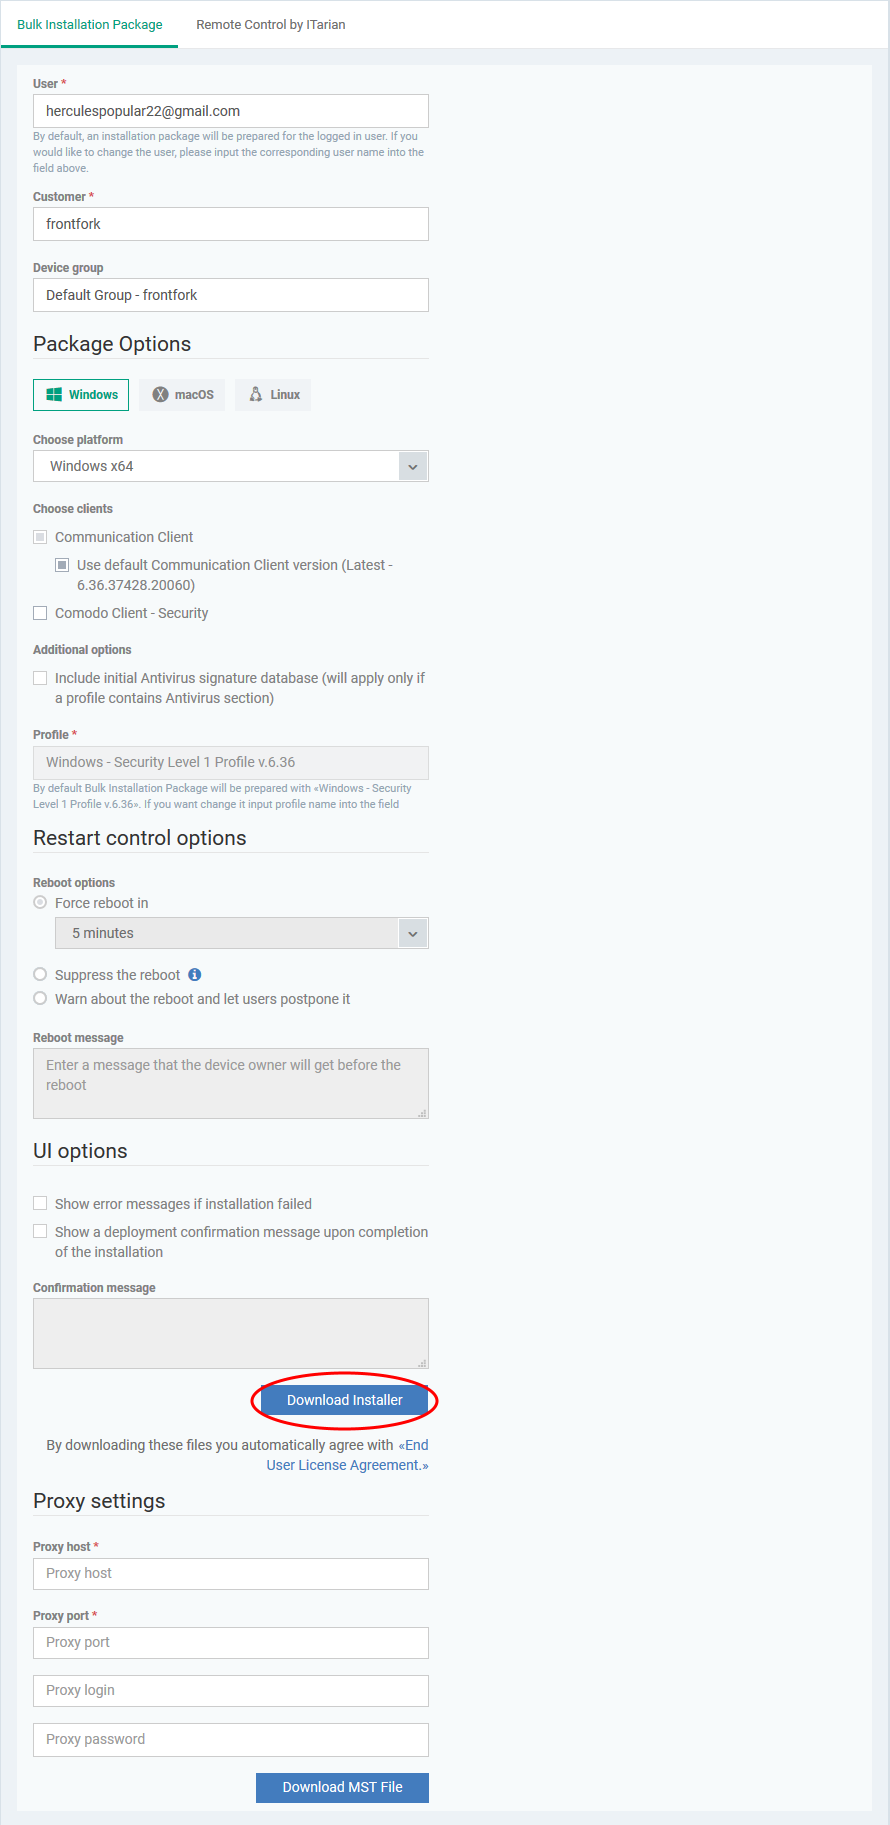
- Complete the details as follows:
- User - The user with whom the package is associated. By default, this is the admin who is currently logged-in. You can change the user if required.
- Customer - MSPs only. Choose the company on whose behalf you want to create the installer.
- Device Group - Type the name of the group you created in step 1. In our example, this is ‘TestUserInstall’.
- Operating system - Choose the OS of the target endpoints
- Package options - Leave only ‘Communication client selected’. Don’t select ‘Xcitium’
- Restart / UI options - Leave at defaults
- User - The user with whom the package is associated. By default, this is the admin who is currently logged-in. You can change the user if required.
- Scroll down and click the ‘Download Installer’ button.
- Save the file to your local machine
|
Do NOT rename the .msi in any way. Doing so will mean the endpoints won’t get enrolled/added to the correct device group. You may ignore/close the ‘Auto Discovery and Deployment Tool’ pop-up. |
Step 3: Encrypt the password for the Administrator account that you want to use using the PowerShell script
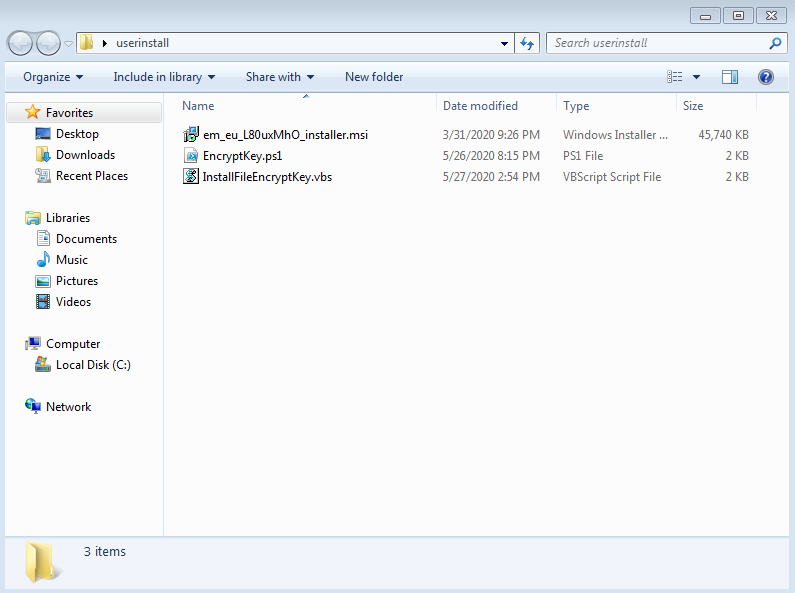
- Create a working directory and copy paste the Endpoint Manager Communication Client .msi file
- Download EncryptKey.ps1 from this link: https://drive.google.com/file/d/1p9yKDF5f49zpXh7ngfTOR5bu6FY6Jq2s/view?usp=sharing
- Download InstallFileEncryptKey.vbs from this link: https://drive.google.com/file/d/1PFSh-GTBin9h7_1_D17hob4nhxPQWVmm/view?usp=sharing
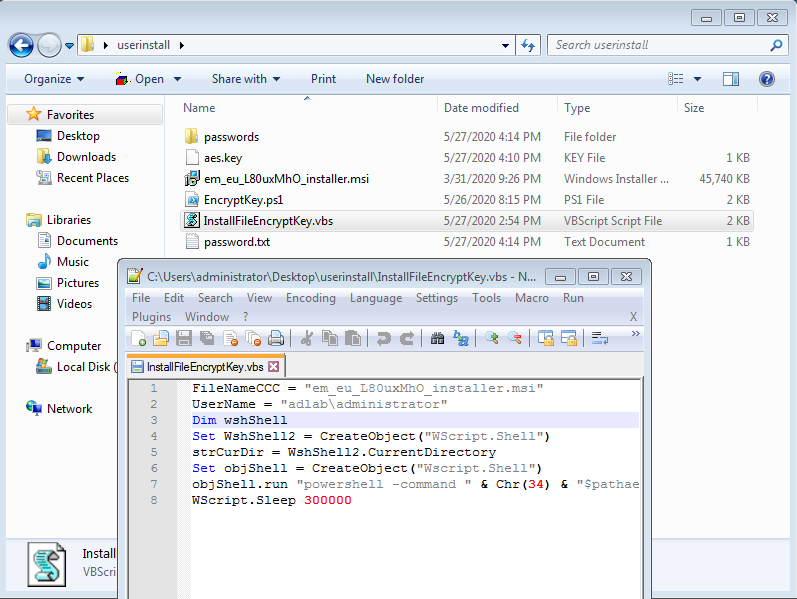
You will have something similar to this:

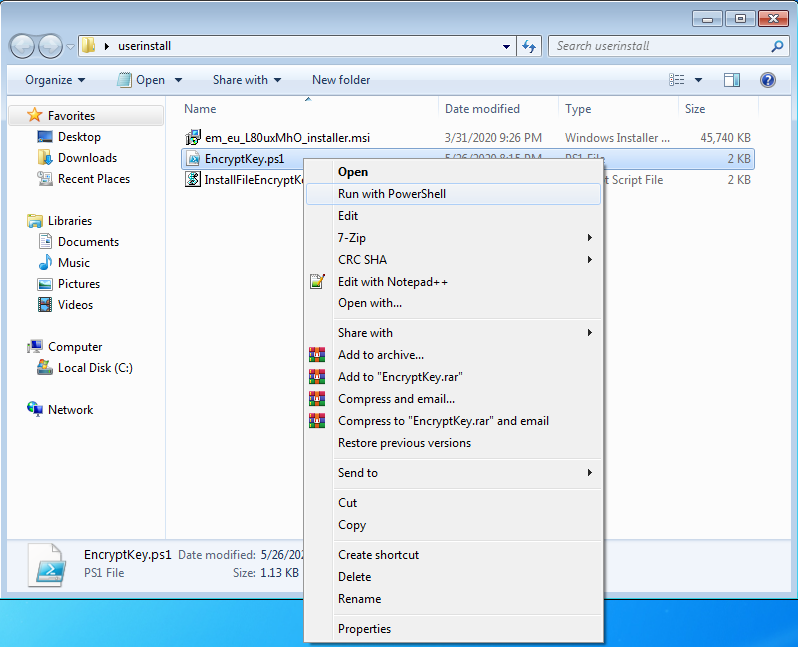
Start running the EncryptKey.ps1 script

|
If the PowerShell execution policies are on the default value, you will be asked to change it in order to be able to run a PowerShell script. |
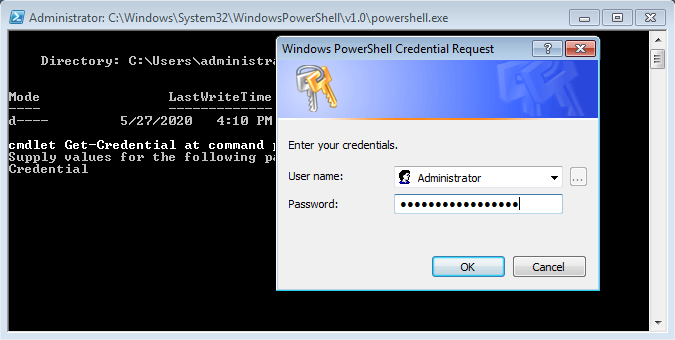
Once the script will run you will be asked to provide credential
AD credential example:


Or if you use Local account; example:

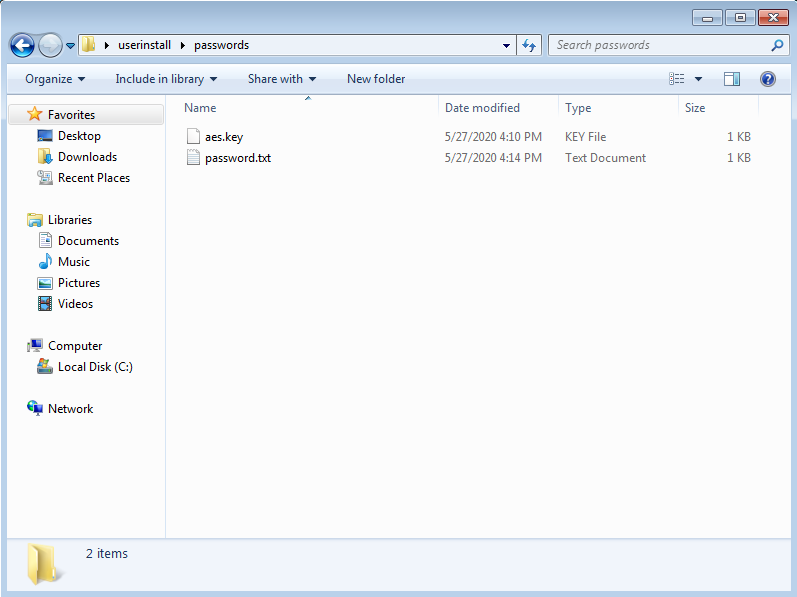
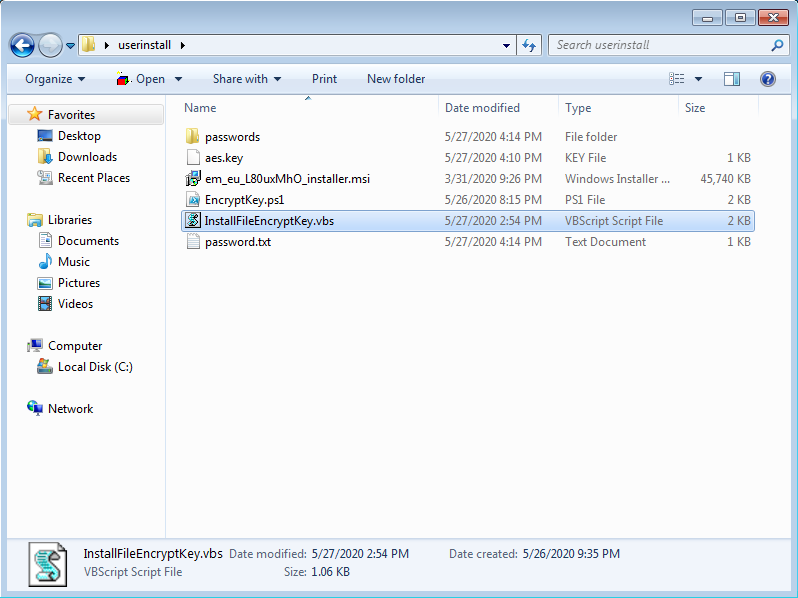
After you provide the credentials a new folder will be created on the same folder level with the name passwords

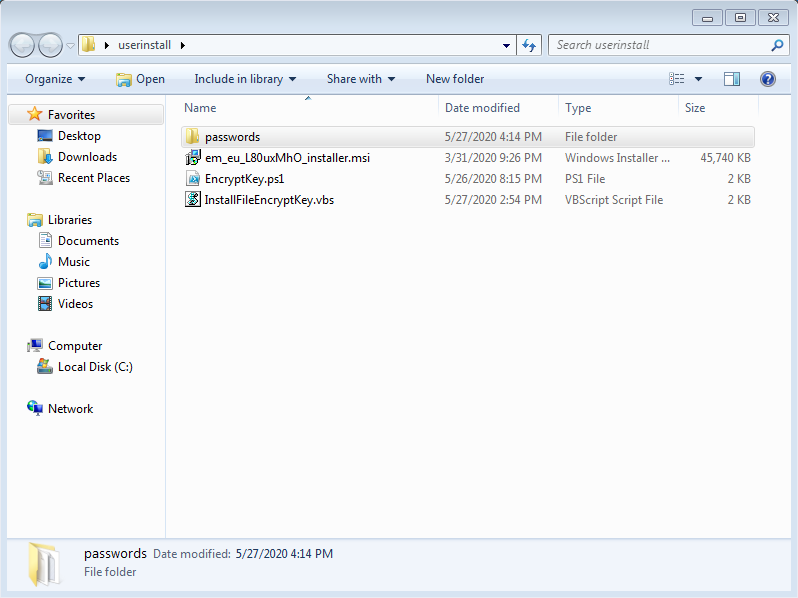
Inside this folder, you will have two files:
- aes.key
- password.txt

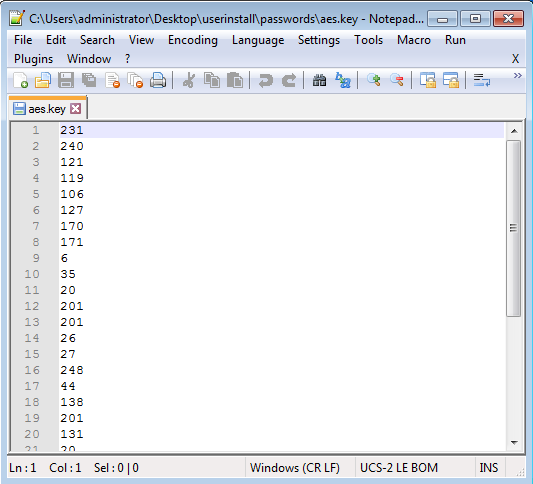
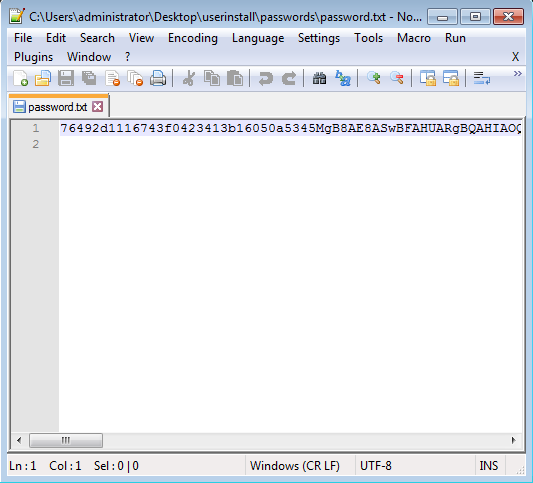
If you look inside of these files you will see that everything is encrypted:

Please copy paste these two files on your working directory:


Step 4: Update and test the VBS script
|
Why we use a vbs script and not a PowerShell script to trigger the install? By default in Windows Powershell scripts are disabled on the operating systems: To overcome this, the following vbs script will send multiple PowerShell commands, therefore we do not use a script. |
Please edit the InstallFileEncryptKey.vbs file and the first two lines with your information

Now you are ready to make the first test.
You can copy the 4 files to a test endpoint
For this test first please use a windows standard user, to confirm the limited privileges. Please try to install the Endpoint Manager Communication Client using the .msi file.
You will receive the following pop-up:
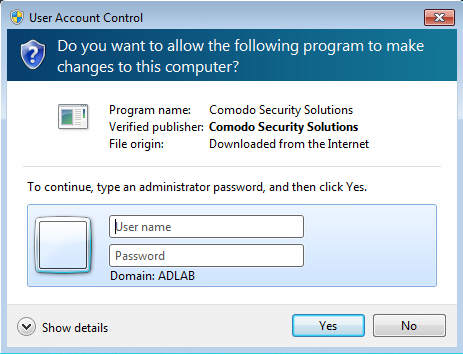
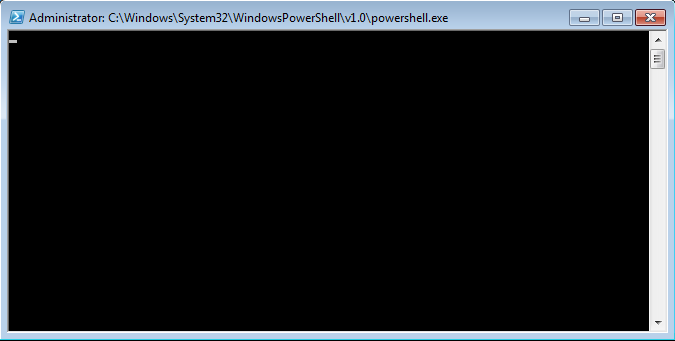
After you have confirmed that using your current user, you don’t have the right to install an application, please run the InstallFileEncryptKey.vbs file.


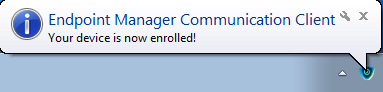
A PowerShell window will pop-up and at the end, the Endpoint Manager Communication Client will be installed.

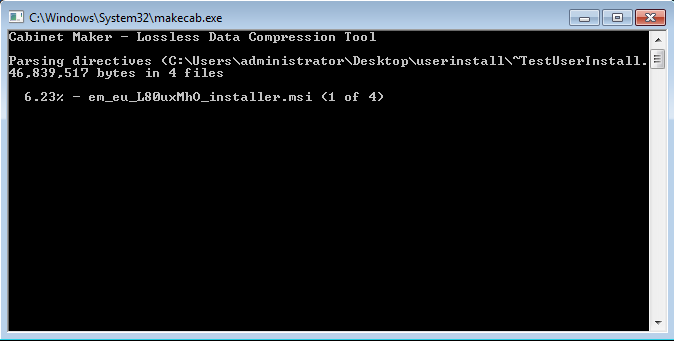
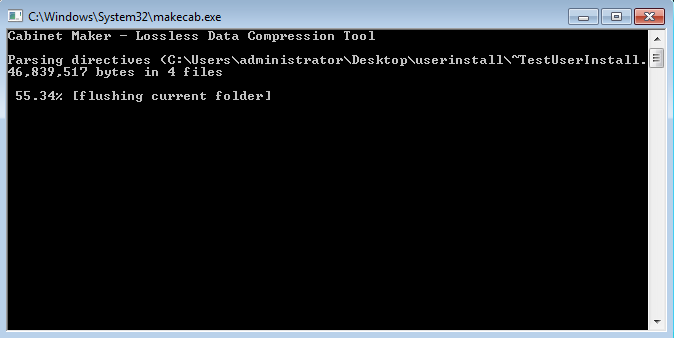
Step 5: Concatenate all the files and generate an .exe install file – our example using iexpress
|
You need to use the iexpress on a windows 10 machine. If you create the .exe file using the iexpress from a windows 7 machine, the final exe package will not work on Windows 10 systems. |
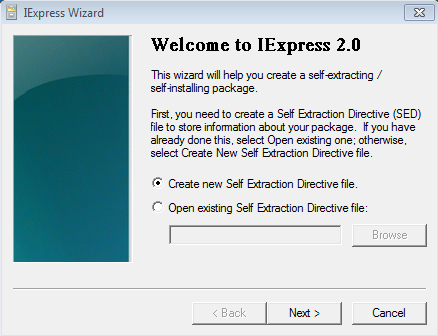
To start, open iexpress on your machine:


Choose “Create new Self Extraction Directive file” and click Next.

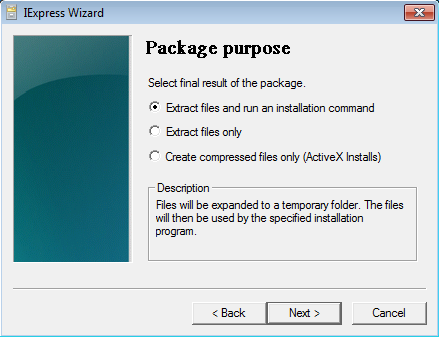
Select “Extract files and run an installation command” and click Next.

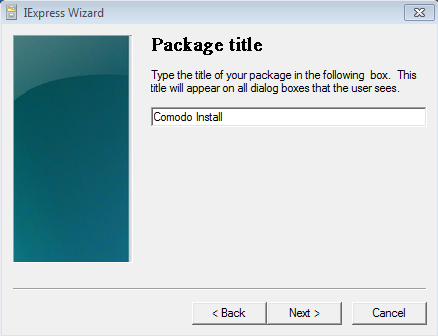
Please provide a Package Title and click Next.

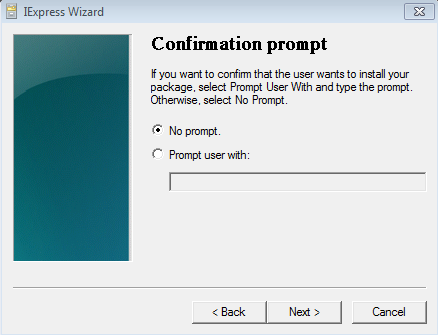
Select “No prompt” and click Next.

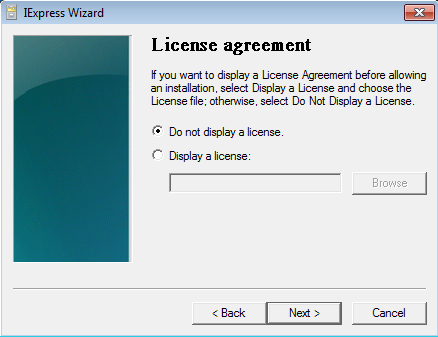
Select “Do not display a license” and click Next.

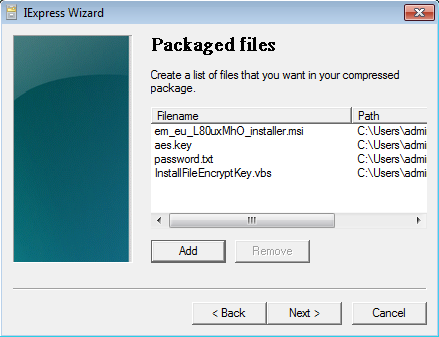
Please add the 4 files from your working directory and click next.

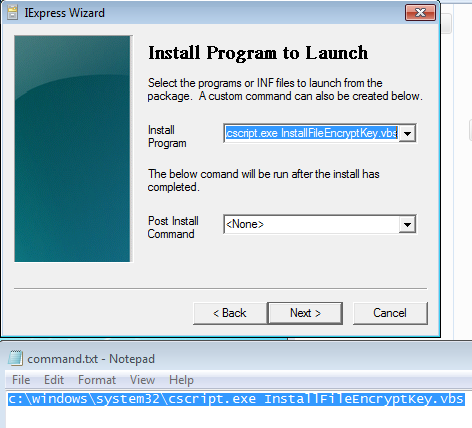
On the Install Program section please use this command:
c:\windows\system32\cscript.exe InstallFileEncryptKey.vbs

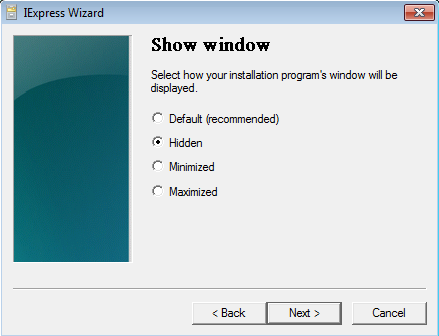
Select “Hidden” and click Next.

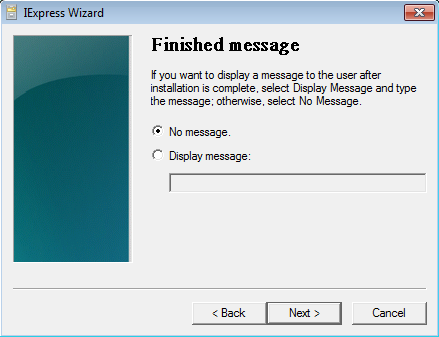
Select “No message“ and click Next.

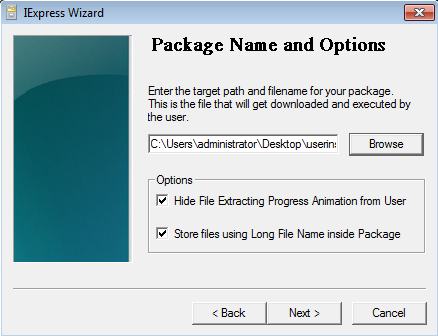
Browse and select where to save the .exe file.
Check the boxes for “Hide File Extracting Progress Animation from User” and “Store files using Long File Name inside Package”.
Please continue by clicking Next.

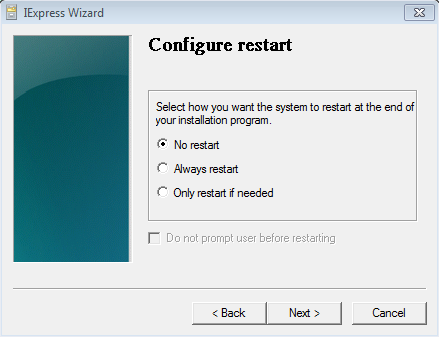
Select “No restart” and click Next.

Select “Don’t save” and click Next.


Click Next.


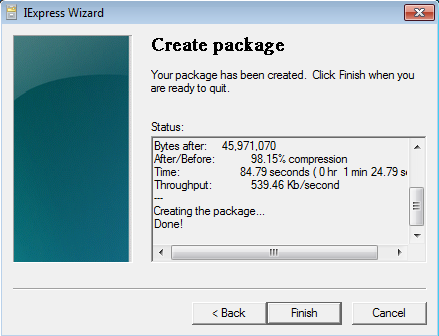
At the end click Finish.

Now please test the .exe file as you have done on Step 4


Once your test is a success, you can share the generated .exe file with your users and they can use it to install Endpoint Manager Communication Client under their windows standard account.
|
At the end of the deployment change the password for the used user account with administrative privileges (local or domain). Remove the install package from the public link. |


---