How to deploy comodo clients in an instant clone environment (from running golden image)
Lab Description
This article is based on VMware Horizon 7
Testing was done with Windows 7 and Windows 10 as master images, and Windows 7 as VMware Horizon Client.
Technology Primer
- Instant cloning is a technology used in a virtual desktop infrastructure (VDI) which lets admins create new virtual desktops ‘on-the-fly’.
- The concept involves creating a ‘master’ virtual desktop which is duplicated in real-time whenever a user requests a desktop. The new desktop is indistinguishable from a traditional machine to the end-user, even though it was created mere seconds ago and will be destroyed when the user logs off.
- By creating virtual desktops ‘just-in-time’ when a user needs them, a business can make huge cost savings on hardware purchases and maintenance. And because all data and operating resources reside on the server, the system also provides better security and control for an IT department.
- This tutorial explains how to configure Xcitium Endpoint Manager so that it automatically enrolls such instant machines as they are created.
Step 1: Prepare the Endpoint Manager console
Open Endpoint Manager > Create a device group for the clone machines > Associate a profile with the device group:
- Open Endpoint Manager
- Click ‘Applications’ > ‘Devices’ > ‘Device List.
- Choose a target company if you are using the MSP version
- Click the ‘Group Management’ tab
- Click the ‘Create Group’ button:

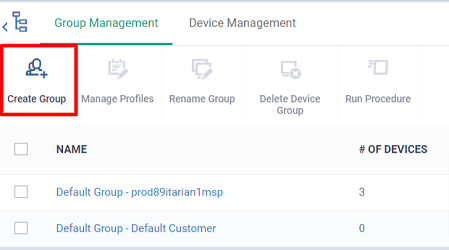
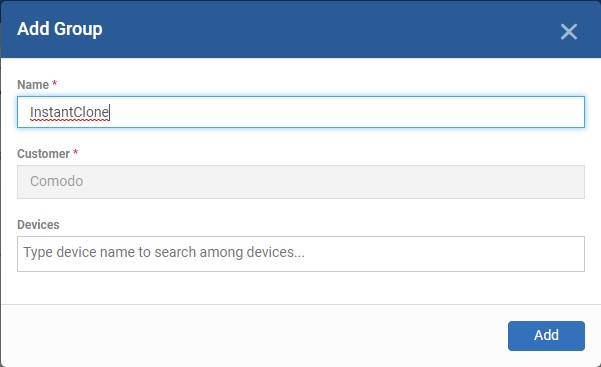
- Provide a name for the new group. For example, ‘InstantClone’.
- Click ‘Add’ to create the group:

Next, associate the profile you want to use on the clones with your new group:
- Click ‘Devices’ > ‘Device List’
- Click the ‘Group Management’ tab
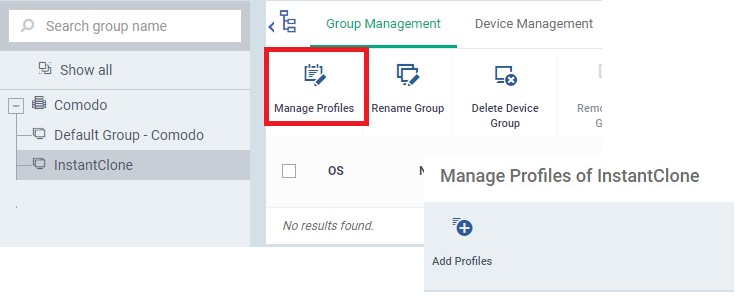
- Click on the name of the group you just created. In our example, ‘InstantClone’
- Click the ‘Manage Profiles’ button then ‘Add Profiles’

- Select the profile that you want to use on the clone machines
- Need to learn more about profiles. See https://wiki.xcitium.com/frontend/web/topic/how-to-clone-and-customize-a-profile-then-apply-it-to-devices
- Click ‘Save’ to apply the profile to the group.
Step 2: Create the Client Communication (CC) Installation Package
- The Client Communication (CC) installer package will auto-enroll the instant clones to your new device group.
- This means the clones will receive the configuration profile you associated with the group in step 1.
- Each installer package is uniquely generated for your environment. Do not change the filename of the package as it is vital for enrolling the clone devices to the correct group.
Create a CC installation package:
- Click ‘Devices’ > ‘Device List’ > ‘Bulk Installation Package’
- This opens the installer config. screen:

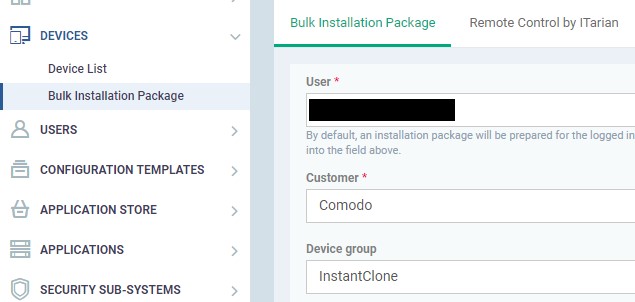
- Complete the details as follows:
- User - The user with whom the package is associated. By deafult, this is the admin who is currently logged-in.
- Customer - MSPs only. Choose the company on whose behalf you want to create the installer.
- Device Group - Type the name of the group you created in step 1. In our example this is ‘InstantClone’.
- Operating system - Choose the OS of the target endpoint
- Package options - Leave only ‘Communication client selected’. Don’t select ‘Xcitium Client – Security’
- Restart / UI options - Leave at defaults
- Scroll down and click the ‘Download Installer’ button.
- Save the file to your local machine
- Reminder. Do NOT rename the .msi in any way. Doing so will mean the clones won’t get added to the correct group.
- You may ignore/close the ‘Auto Discovery and Deployment Tool’ pop-up
Creating the .msi also creates a user token which binds the installer to the ‘InstantClone’ device group. This ensures new clones get enrolled to the correct group. Please make a note of this token as we will need it later in the process.
Get the user token
- Click ‘Users’ > ‘User List’
- Click the name of the user you entered in the package configuration step earlier
- Click the funnel icon on the right if you need to search for a user
- Click the ‘User Tokens’ tab:

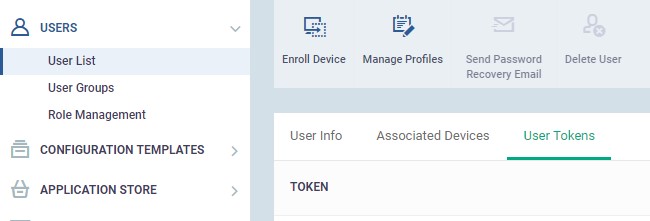
- The most recently created token is listed in the top-row. Make a note of the token string as you will need it later:


Step 3: Get the Endpoint Manager host name
Next, you need to obtain the host name of your Endpoint Manager instance. You will need this in step 5 later.
-
Click ‘Devices’ > ‘Device List’ > ‘Device Management’ tab
-
Click the ‘Enroll Device’ button above the table:
This starts the device enrollment wizard:
Step 1 – Device options
- Select Device – Choose 'Other device'
- Specify User – Start typing the username of the user you chose in step 2 and select the user from the suggestions.
- Click 'Next'
Step 2 - Enrollment options – Leave all default options and click 'Next'
Step 3 - Installation Summary – The choices you made are shown. Click 'Next'
Step 4 - Installation Instructions - The enrollment link is shown:
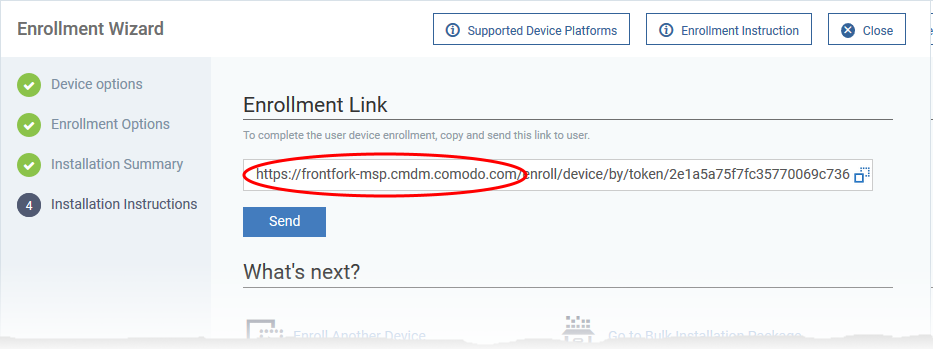
-
Make a note of the full hostname for later use.
Step 4: Install Client Communication (CC) and Xcitium Client Security (CCS) on the master image
- Copy the CC .msi that you created in step 2 to your master image VM and install it.
- This will add your master image as a device to your new (‘InstantClone’) device group.
- Confirm the operation was a success in Endpoint Manager as follows:
- Click ‘Devices’ > ‘Device List’ > ‘Group Management’ tab
- Click on the name of the group (‘InstantClone’ in our example).
- Click the ‘Device Management’ tab
- Your master image should be listed as a device there
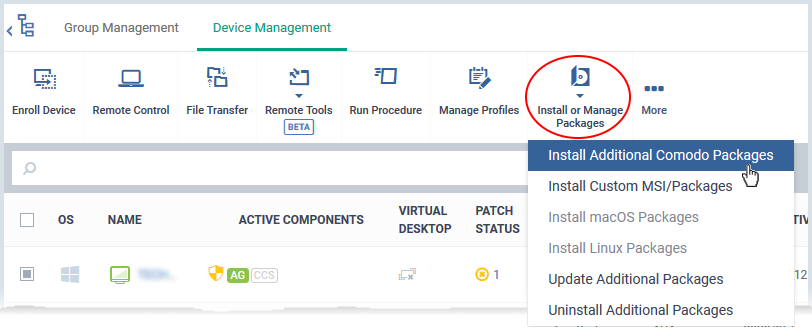
- Stay on the ‘Device Management’ screen. The next step is to install Xcitium Client Security (CCS):
- Use the checkboxes on the left to select your master image device
- Click the ‘Install or update packages’ button
- Select ‘Install Additional Xcitium Packages’ from the menu:
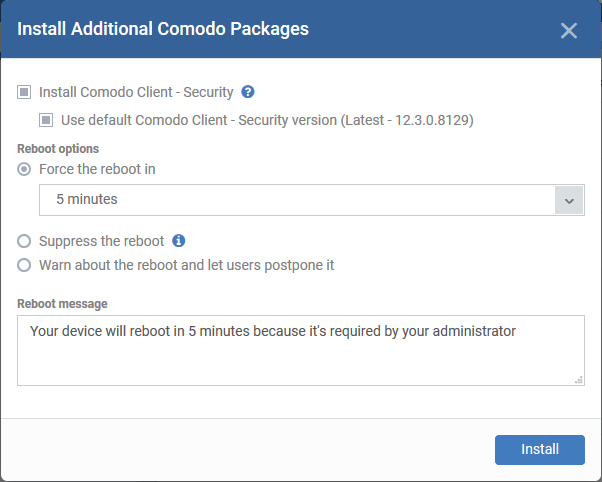
- This will open the CCS install config. screen. Make sure ‘Install Xcitium Client – Security’ is selected and select the version of CCS to be installed (if enabled).
- You must reboot the image to complete CCS installation. Choose reboot options as per your preference.
- Click ‘Install’ to deploy CCS to your master image:
- After rebooting you will have installed both CC and CCS on your master image. The image is listed as a device in your ‘InstantClone’ device group and has the correct profile associated with it.
Step 5: Configure the master image
This step explains how to configure your master image so that new VMs are automatically enrolled into Endpoint Manager.
Enrollment and proxy requirements:
- Download enrollment_config.ini from https://drive.google.com/open?id=1EFg-2CyNOY5IpRrTIt-6rb8GybFcN4-k
- Open the .ini file with a text editor
- Modify the file to suit your deployment:
[General]
host = companydomain.cmdm.Xcitium.com
port = 443
remove_third_party = false
suite = 4
token = xxxxxxxxxxxxxxxxxxxxxxxxxxxxx
- Host / Port – Enter the information you obtained in step 3.
- Token – Enter the user token string you generated in step 2.
- Save the .ini in the ‘Xcitium ITSM’ folder on your master image VM at:
- C:\Program Files\XCITIUM\Xcitium ITSM (32 bit)
- C:\Program Files (x86)\XCITIUM\Xcitium ITSM (64 bit)
- If you have added a ‘Clients Proxy’ section to your profile then you will need a second file - proxy_settings.ini.
- Download proxy_settings.ini from https://drive.google.com/open?id=1P070wdHWqL2crD9QiEzW_TlwlaefC5m-
In the file you have:
[General]
proxy_use = "true"
proxy_host =
proxy_port =
proxy_use_auth = "false"
proxy_user =
proxy_password
- Enter the host name and port of your proxy in the appropriate fields.
- If you are using authentication, change ‘proxy_use_auth’ to “true”, and provide the username and password.
- Note – Both ‘enrollment_config.ini’ and ‘proxy_settings.ini’ are erased every time a new machine is spawned. To avoid generating these files every time, you should place them in a backup folder on the master VM. Create a new folder called ‘Backup’ inside the ITSM folder at:
- C:\Program Files\XCITIUM\Xcitium ITSM\Backup <32bit>
- C:\Program Files (x86)\XCITIUM\Xcitium ITSM\Backup <64 bit>
Unenroll requirements:
- The device needs to be unenrolled from Endpoint Manager every time you shut down the master image.
- Enrollment_config.ini (and proxy_settings.ini if used) need to be in the Xcitium ITSM folder when the ITSM service restarts. This ensures the machine will be correctly enrolled.
- You can automate both these processes by creating .bat files. Make sure you have created a backup folder as explained above then follow these steps:
Step 1
- Download ‘EnrollmentITSM.bat’ from https://drive.google.com/open?id=1hvJlKGgHZXN94z1flyt9l1NyU8DxY3hJ
This file contains the following:
@ECHO OFF
timeout 5
net start ITSMService
- Download ‘UnEnrolmentITSM.bat' from https://drive.google.com/uc?export=download&id=15_4eUZCnZUixKlkXt2AloiuJvjE5xeai
This file contains the following:
@ECHO OFF
REM Please create a folder called ‘Backup’ in the "Xcitium ITSM" folder
REM In this folder please copy "enrollment_config.ini" and "proxy_settings.ini" files
REM This script will copy the two files to the "Xcitium ITSM" folder when the enrollment command is run
SET backupfolder=Backup
REM If you are using proxy, please use Proxy = "yes"
SET proxy=no
IF EXIST "%SystemDrive%\Program Files (x86)" (
cd "%ProgramFiles(x86)%\XCITIUM\Xcitium ITSM"
ITSMService.exe -c 2
timeout 30
IF EXIST "%ProgramFiles(x86)%\XCITIUM\Xcitium ITSM\enrollment_config.ini" (
del "%ProgramFiles(x86)%\XCITIUM\Xcitium ITSM\enrollment_config.ini" >nul 2>&1
)
IF "%proxy%" == "yes" (
IF EXIST "%ProgramFiles(x86)%\XCITIUM\Xcitium ITSM\proxy_settings.ini" (
del "%ProgramFiles(x86)%\XCITIUM\Xcitium ITSM\proxy_settings.ini" >nul 2>&1
)
)
IF NOT EXIST "%ProgramFiles(x86)%\XCITIUM\Xcitium ITSM\enrollment_config.ini" (
xcopy "%ProgramFiles(x86)%\XCITIUM\Xcitium ITSM\%backupfolder%\enrollment_config.ini" "%ProgramFiles(x86)%\XCITIUM\Xcitium ITSM\" /Y >nul 2>&1
)
IF "%proxy%" == "yes" (
IF NOT EXIST "%ProgramFiles(x86)%\XCITIUM\Xcitium ITSM\proxy_settings.ini" (
xcopy "%ProgramFiles(x86)%\XCITIUM\Xcitium ITSM\%backupfolder%\proxy_settings.ini" "%ProgramFiles(x86)%\XCITIUM\Xcitium ITSM\" /Y >nul 2>&1
)
)
net stop ITSMService
timeout 5
) ELSE (
cd "%ProgramFiles%\XCITIUM\Xcitium ITSM"
ITSMService.exe -c 2
timeout 30
IF EXIST "%ProgramFiles%\XCITIUM\Xcitium ITSM\enrollment_config.ini" (
del "%ProgramFiles%\XCITIUM\Xcitium ITSM\enrollment_config.ini" >nul 2>&1
)
IF "%proxy%" == "yes" (
IF EXIST "%ProgramFiles%\XCITIUM\Xcitium ITSM\proxy_settings.ini" (
del "%ProgramFiles%\XCITIUM\Xcitium ITSM\proxy_settings.ini" >nul 2>&1
)
)
IF NOT EXIST "%ProgramFiles%\XCITIUM\Xcitium ITSM\enrollment_config.ini" (
xcopy "%ProgramFiles%\XCITIUM\Xcitium ITSM\%backupfolder%\enrollment_config.ini" "%ProgramFiles%\XCITIUM\Xcitium ITSM\" /Y >nul 2>&1
)
IF "%proxy%" == "yes" (
IF NOT EXIST "%ProgramFiles%\XCITIUM\Xcitium ITSM\proxy_settings.ini" (
xcopy "%ProgramFiles%\XCITIUM\Xcitium ITSM\%backupfolder%\proxy_settings.ini" "%ProgramFiles%\XCITIUM\Xcitium ITSM\" /Y >nul 2>&1
)
)
net stop ITSMService
timeout 5
)
- Place both of the .bat files in your backup folder.
Step 2
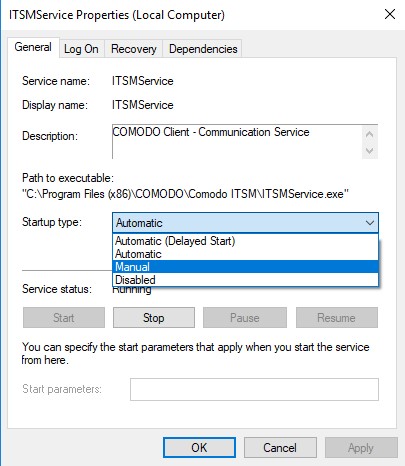
- Open ‘services.msc’ on your master image VM
- Locate ‘ITSMService’ in the list, right-click and select ‘Properties’
- Change the ‘Startup Type’ from ‘Automatic’ to ‘Manual’:

Step 3
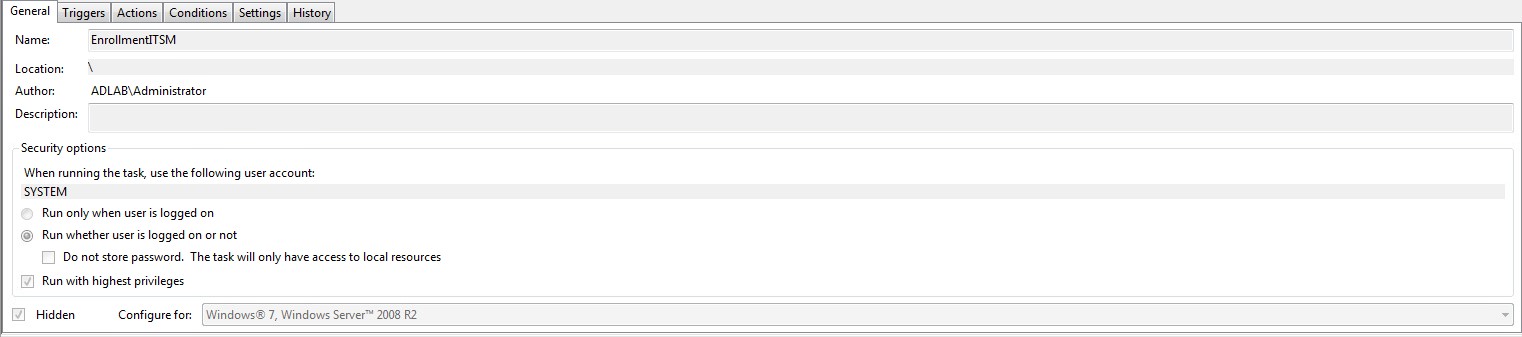
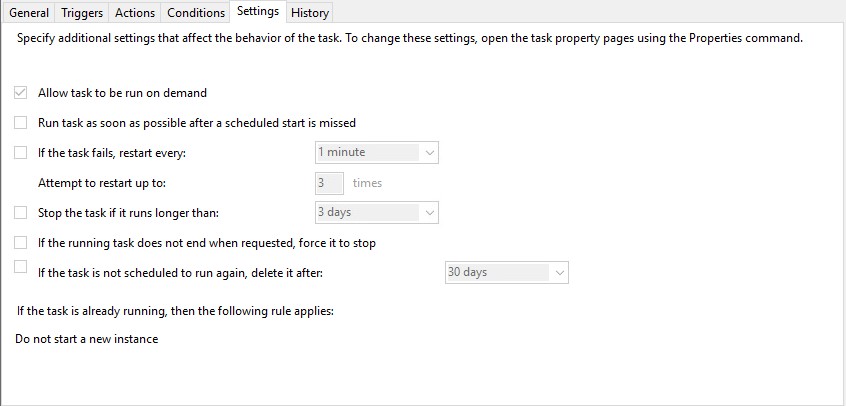
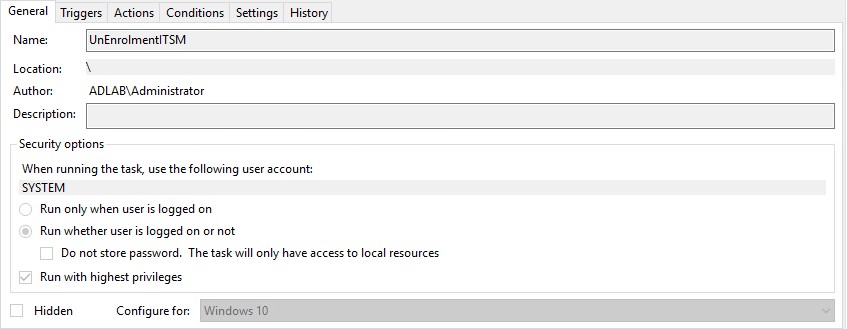
EnrollmentITSM.bat needs to run at logon using ‘Task Scheduler’. This is because the user may have limited permissions in GPO which will prevent the file running.
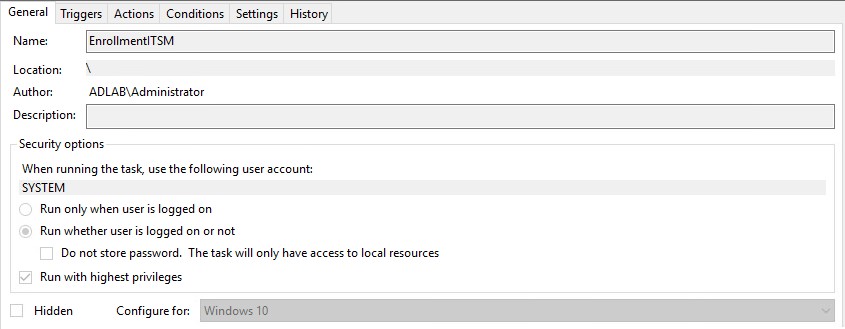
Please review the print screens for how to create a task in Windows 7 and Windows 10.
Windows 7:


Windows 10:


Step 4
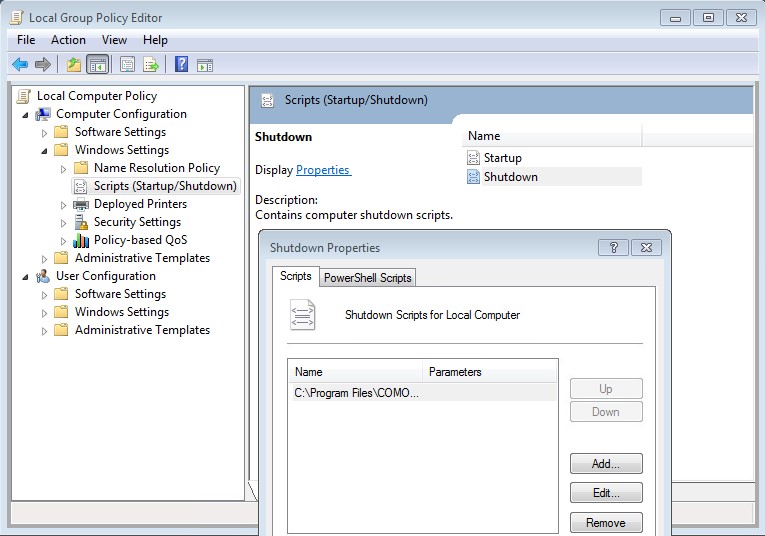
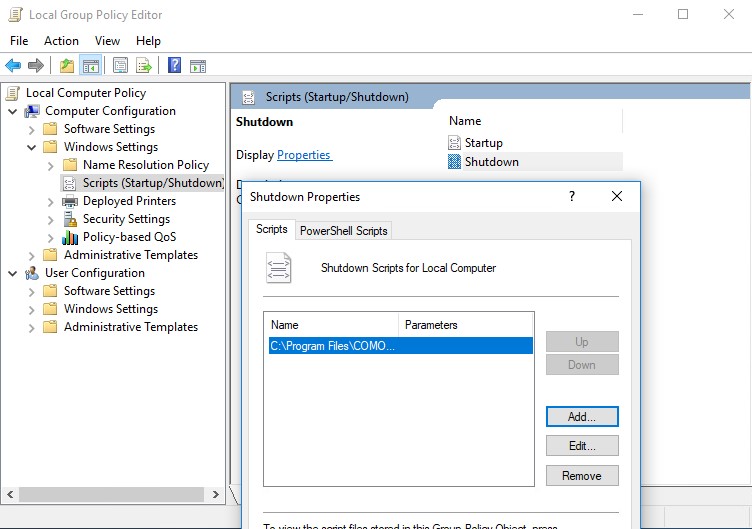
UnEnrolmentITSM.bat needs to run at shutdown. In this case we can use GPO to add the script at shutdown:
- Open ‘Local Group Policy Editor’ > ‘Scripts (Startup/Shutdown)’ > ‘Shutdown’ > right click > ‘Properties’ > ‘Add…’ – browse to ‘UnEnrolmentITSM.bat’ > Click ‘OK’
Windows 7:

Windows 10:

Note:
Please don’t be tempted to use ‘Task Scheduler’ for UnEnrolmentITSM.bat. Use GPO as explained above.
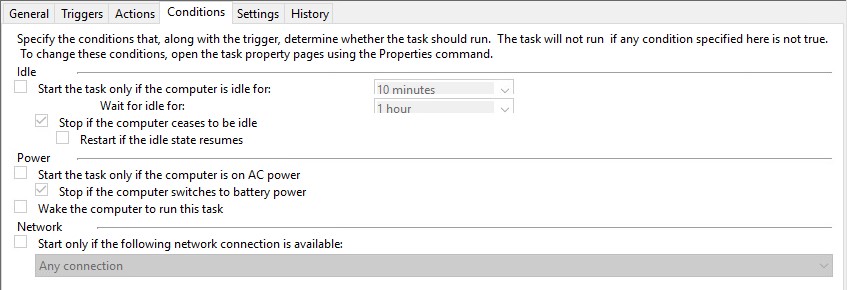
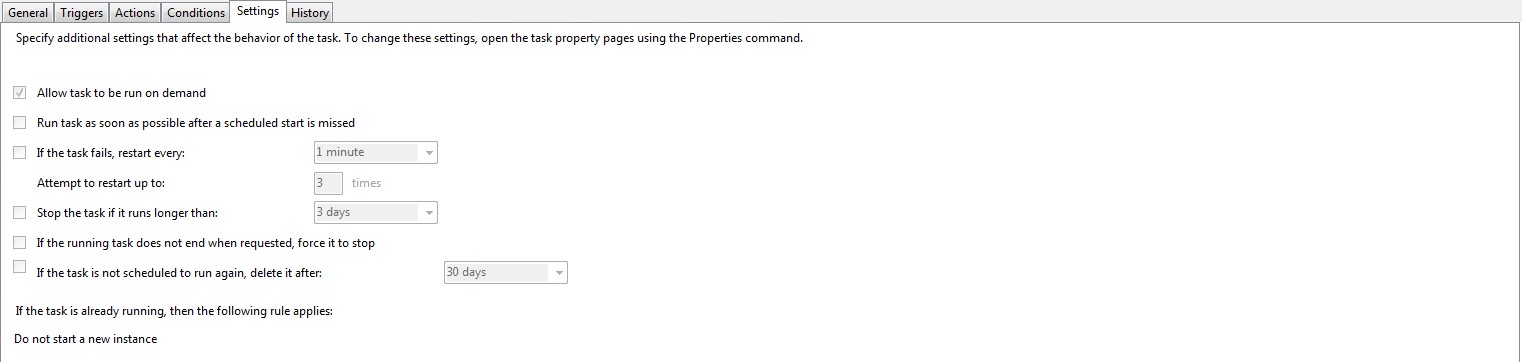
- Task Scheduler does not wait for the task/script to finish like GPO.
- When the command ITSMService.exe -c 2 is used, CCC places it in an action queue. This means we have added a 30 second delay to script execution.
- GPO executes the task immediately without delay.
Again, we recommend you use GPO for the unenrollment task. However, if you still want to use task scheduler, then use the following information:
Example using Task Scheduler for UnEnrolmentITSM.bat.
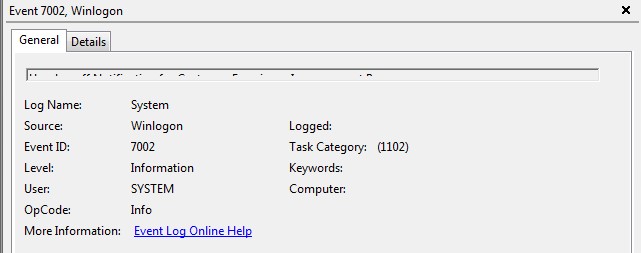
We will need to use the following Event ID’s:
- Event ID 7002
Windows 7:

- Event ID 1074

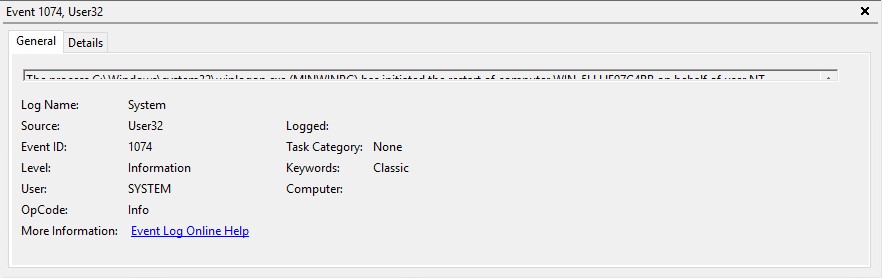
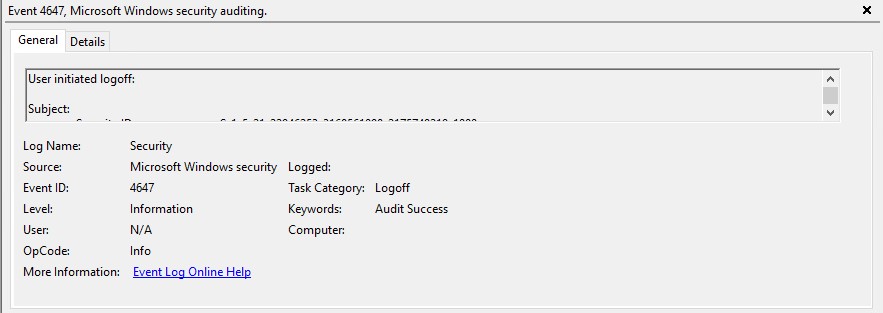
Windows 10:
- Event ID 4647

- Event ID 1074

Please review the print screens on how to create a Task in Windows 7 and Windows 10.
Windows7:


Windows 10:

Now at shutdown/logoff, the .bat file will unenroll the machine from the ITSM console and prepare the enrollment process by copying the file or files from the ‘Backup’ folder to the Xcitium ITSM folder.
Step 6: Rate the .bat file as ‘Trusted’ on the master image machine
We want the .bat file to run unimpeded, so we need to give it a ‘Trusted’ file rating in Xcitium Client Security (CCS). Doing so means CCS will not block the file regardless of the security level you are using.
1) Enable the file list
- Open Endpoint Manager
- Click ‘Configuration Templates’ > ‘Profiles’
- Click on the name of the profile you applied to the master image
- Open the ‘UI Settings’ tab
- Click ‘Add Profile Section’ > ‘UI Settings’ if you have not yet added this section
- Enable ‘Show File List’ and save the profile
- This will command CCS on the master image to make the file list available to you
2) Give the .bat file a trusted rating
- Open Xcitium Client Security on your master image
- Click ‘Settings’ > ‘File Rating’ > ‘File List’
- Click the ‘Add’ button > ‘Files’
- Browse to the .bat file and click ‘Ok’.
- Alternatively, enter the absolute path. In our example:
- C:\Program Files\XCITIUM\Xcitium ITSM\Backup\EnrolmentITSM.bat or
- C:\Program Files (x86)\XCITIUM\Xcitium ITSM\Backup\EnrolmentITSM.bat
- Select ‘Trusted’ as the rating:
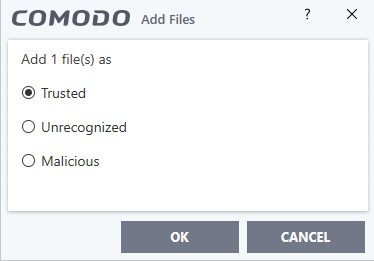
- Click ‘OK’
- Repeat the process to trust ‘UnenrolmentITSM.bat’
- Click ‘OK’ to apply the new rating.
Your scripts are now trusted and will not be blocked by CCS.
Step 7: Confirm that CCS doesn’t need a reboot
Important:
At this step you should confirm that Xcitium Client Security doesn’t require a restart. For example, a restart is required If you add or remove AV, FW or Containment from a profile.
Step 8: Reboot the master image
Reboot the master image device to confirm the following:
- The device is removed from Endpoint Manager when you shut it down
- The device is re-enrolled when the reboot is complete
- The device is correctly added to the ‘InstantClone’ group
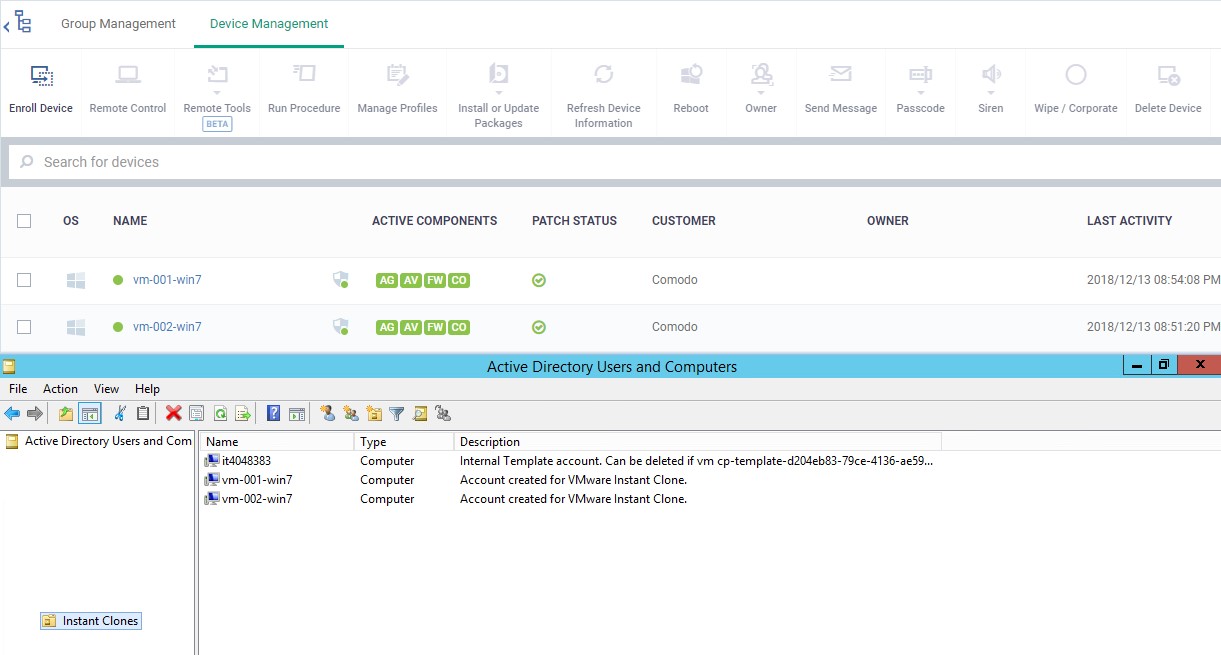
You can check the success or failure of all these steps in the Endpoint Manager interface:
- Open Endpoint Manager > Click ‘Devices’ > ‘Device List’ > ‘Group Management’ tab > open the ‘InstantClone’ group
Step 9: Confirm that the instant clones are enrolled & unenrolled correctly in Endpoint Manager
Now that we have confirmed that the Master Image is working correctly, shutdown the machine and take a snapshot.
When you create a desktop pool, please select “Automatically logoff after disconnect: Immediately”
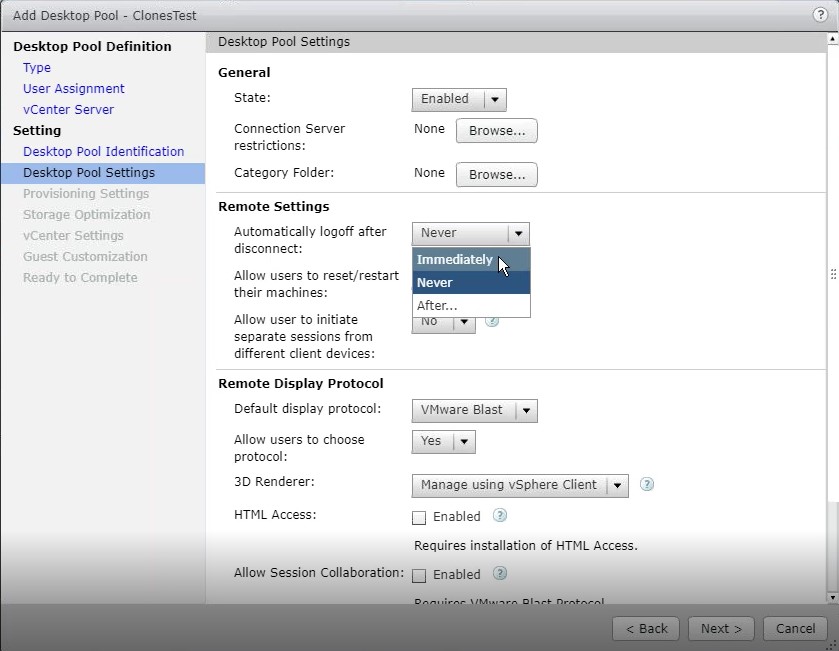
Note:
If you don’t choose this option, “Automatically logoff after disconnect: Immediately”, please remove the UnEnrolmentITSM.bat from logoff.
After the desktop pool is created, please test and confirm that the instant clones are enrolled/removed from the EM console correctly.


---