How to enroll iOS devices to Endpoint Manager
-
This article explains how to add iOS devices to Endpoint Manager.
-
Once added, you can deploy profiles to manage device security, network access rights, browser restrictions and more.
-
Prerequisite - You need an Apple Push Notification (APN) certificate on your EM instance if you wish to manage Mac devices by applying MDM profile. See this wiki if you need help to do this.
Enrollment involves the following steps:
-
Enroll user devices to Endpoint Manager - Create an installation package then send an email to users with a link to install the package.
-
Install the package on the device - User clicks the link in the mail to install the package on the device.
Note - You need to add users (device owners) before you can enroll their devices. Please see this wiki if you have not yet added users:
Enroll user devices to Endpoint Manager
-
Login to Xcitium
-
Click 'Applications' > 'Endpoint Manager'
-
Click 'Users' > 'User List' on the left
-
Select the users for whom you want to add devices then click 'Enroll Device'
Or
-
Click the 'Add' button
on the menu bar then 'Enroll Device'.

The device enrollment wizard starts:

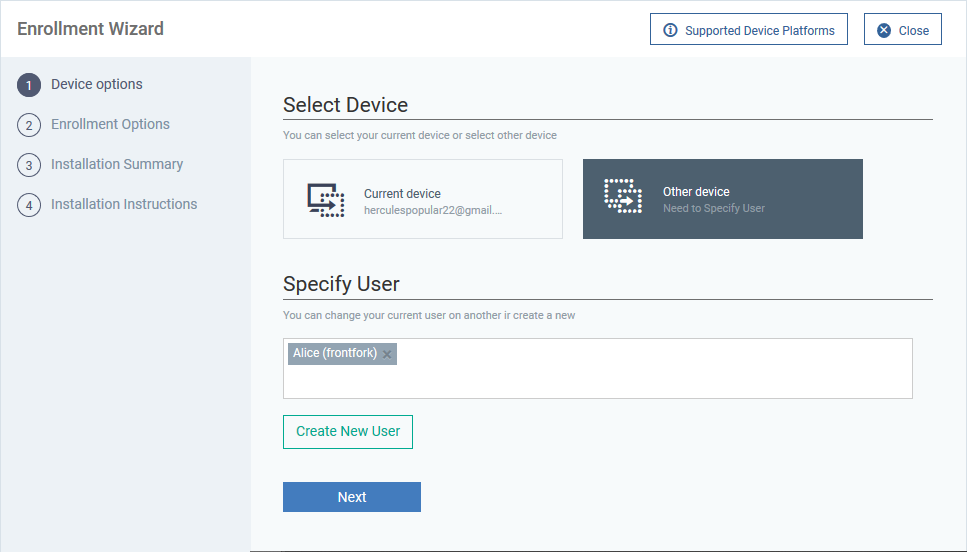
Select Device
-
Choose 'Other device'
Specify User
-
Any users you selected earlier are listed in the 'Specify User' box
-
You can add additional, existing users by simply typing their email address in the box. Endpoint Manager will auto-suggest users that have already been created.
-
Create New User – Click if you want to add a new user to Endpoint Manager. You cannot add devices unless you have first added the users that own them. The add-user process is explained here.
Click 'Next' to proceed to step 2.
Step 2 – Enrollment options:
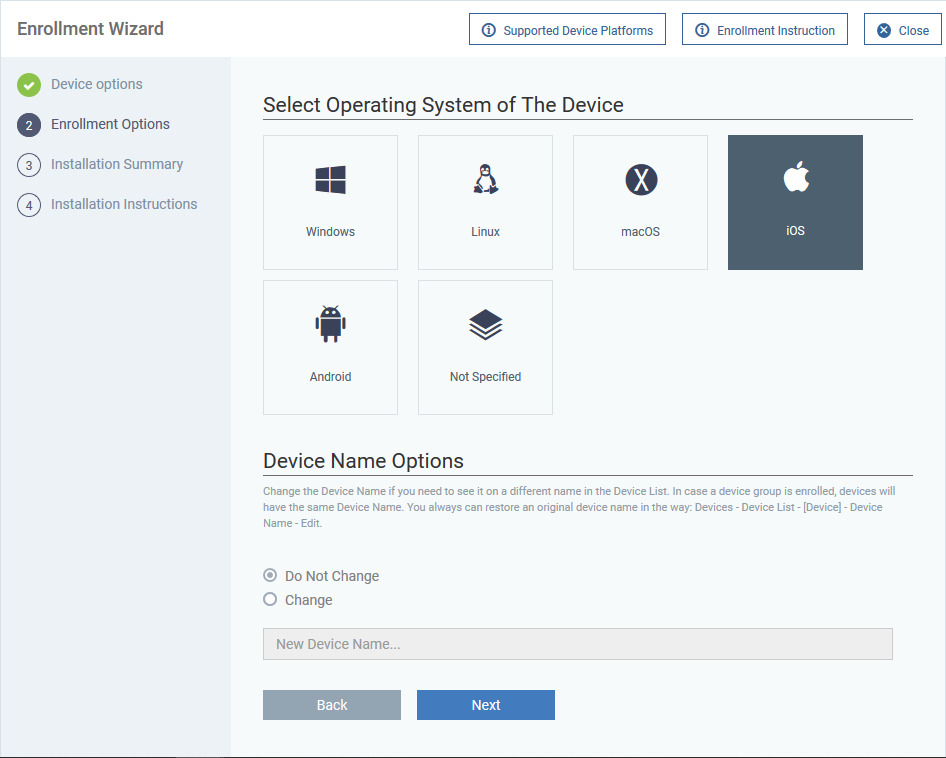
Select Operating System of the Device
-
Choose 'iOS'
Device Name Options
-
Do Not Change - The device’s existing name is used to identify it in the Endpoint Manager.
-
Change - Enter a new device name.
Click 'Next' to proceed to step 3
Step 3 - Installation Summary
-
Review your choices so far:
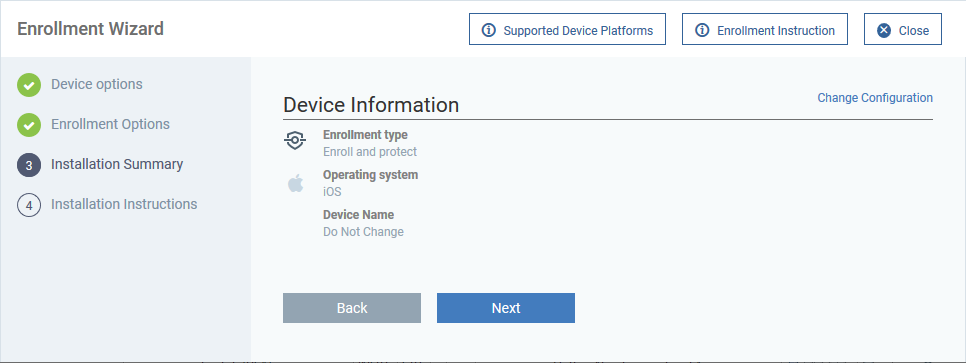
-
Click ‘Back’ or 'Change Configuration' (top-right) to revise your choices.
Click 'Next' to proceed to step 4
Step 4 - Installation Instructions
The final step is to send the enrollment emails to the device owners:

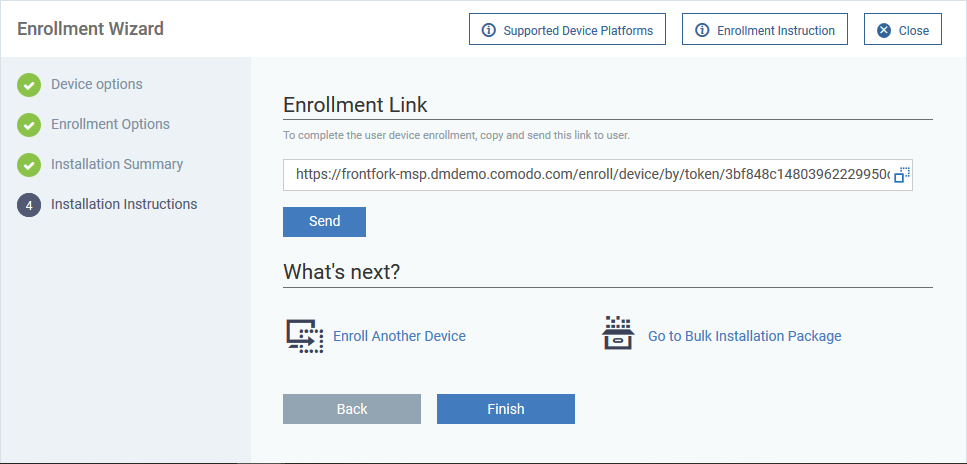
-
Send To Email - Click to send enrollment mails to users with the settings you choose in steps 1, 2 and 3.

Tip: Alternatively, you can copy the link and forward to the user through any out-of-band communication method.
-
Click 'Finish' to exit the wizard
An example email is shown below:
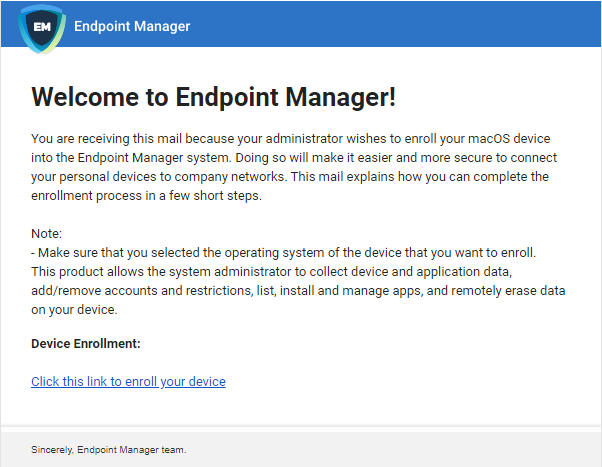
-
Users must open the mail on the endpoint itself.
Download and install the client
-
Open the mail on the target device and click the enrollment link. This starts the setup wizard.
-
Click the 'Download MDM Profile' button and save the file:


A confirmation is shown:

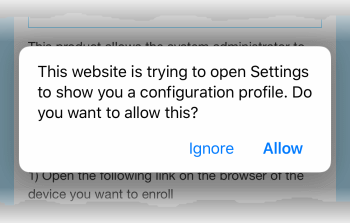
-
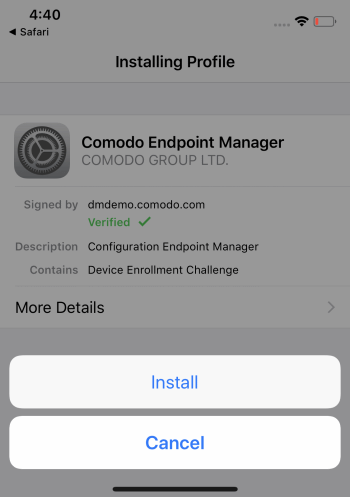
Click 'Allow'. The 'Install Profile' wizard starts:

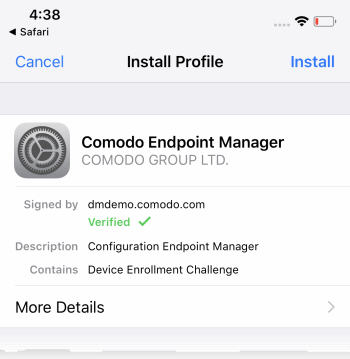
-
Tap 'Install'...

-
...then 'Install' again.
The profile and certificate installation processes will start:

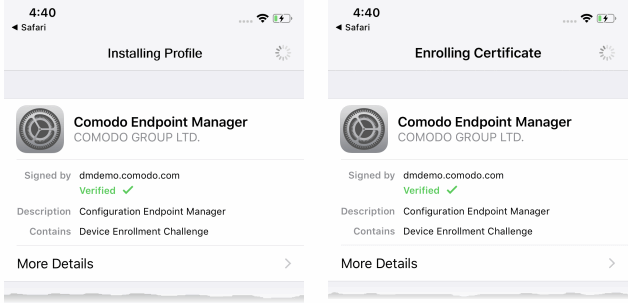
-
When that has finished, read the privacy information then click 'Install' to continue:


-
Click 'Trust' at the remote management screen to continue installation:


-
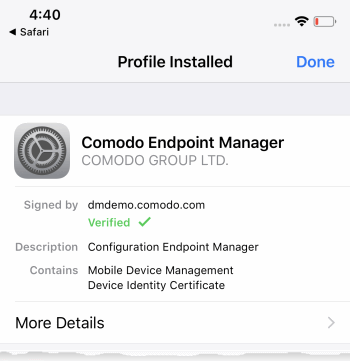
Tap 'Done' to finish profile installation.
-
After installing the profile, the communication client installation process will begin. The client is essential to connect the device to Endpoint Manager:

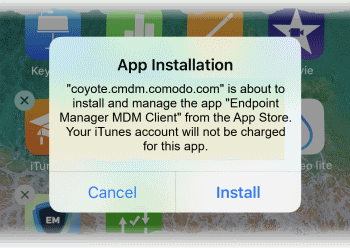
-
The app is downloaded from the Apple store using the user's account.
-
After installation, tap the green 'Run After Install' icon on the home screen:

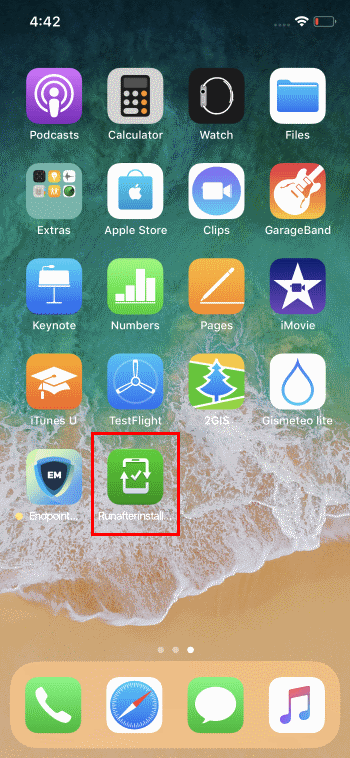
-
Next, select 'Open' to begin the installation process:

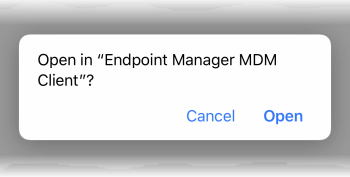
-
The client requires access to device location to continue the setup process:

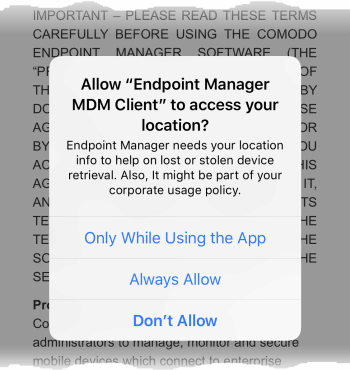
-
Tap 'Always Allow'.
-
Read and accept the EULA:

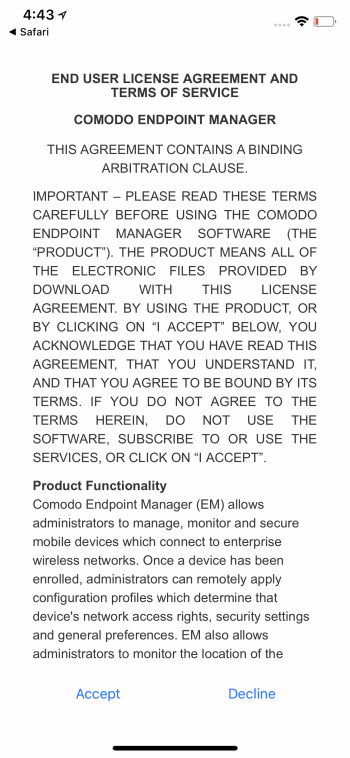
The device will be successfully enrolled to Endpoint Manager once the client is installed:

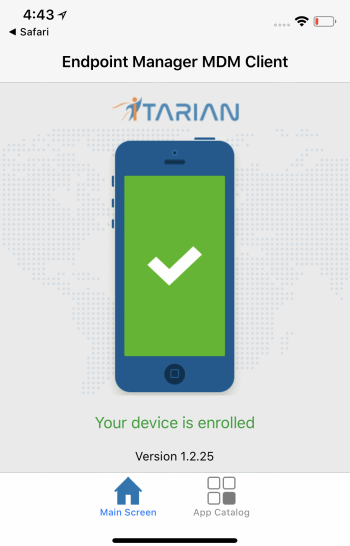
-
Any Endpoint Manager profiles assigned to the user will now be applied to the device.
-
If no profiles are assigned to the user, then the default iOS profiles are applied to the device.
-
The device can now be remotely managed from the EM console.


---